
Page 6 1986 GasGas Halley restoration
Now onto the work of the repair, tear down and rebuild.
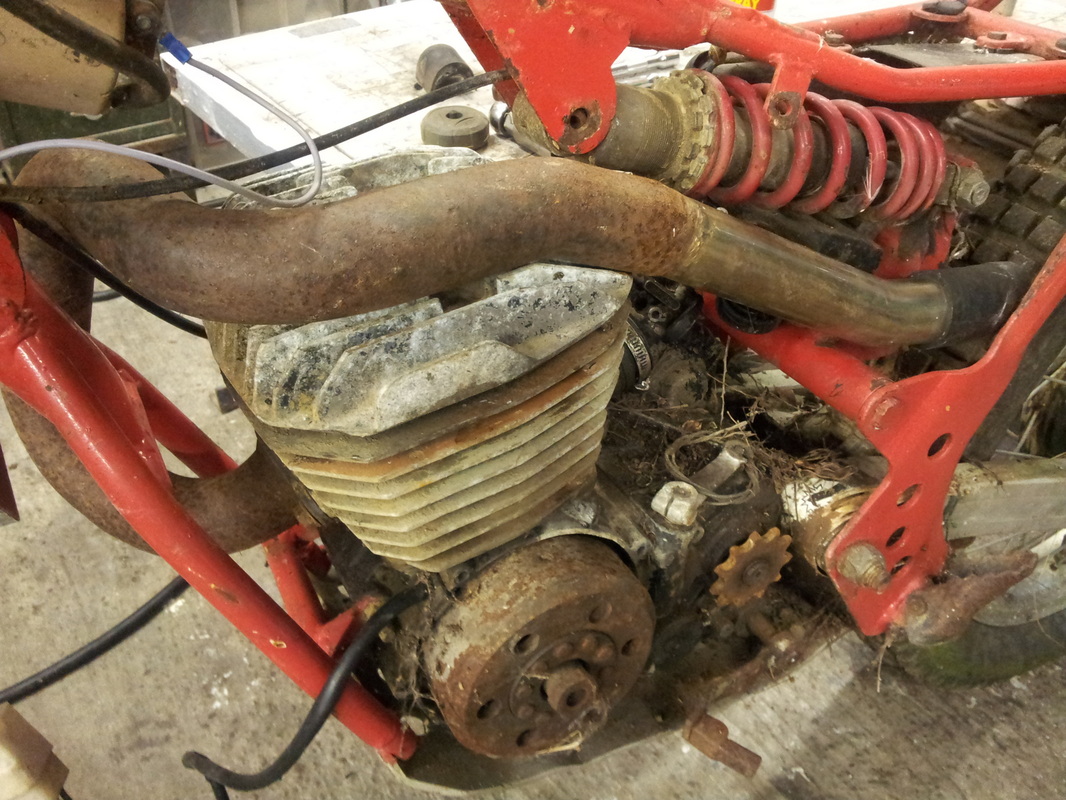
The front section of the exhaust did come with the bike, but the rusty part was the only original part. I had my job cut out for me to make an entire middle box and also a rear silencer ....so I knew I had to get cracking.
The front section of the exhaust did come with the bike, but the rusty part was the only original part. I had my job cut out for me to make an entire middle box and also a rear silencer ....so I knew I had to get cracking.
1986 GasGas Halley Restoration www.retrotrials.com
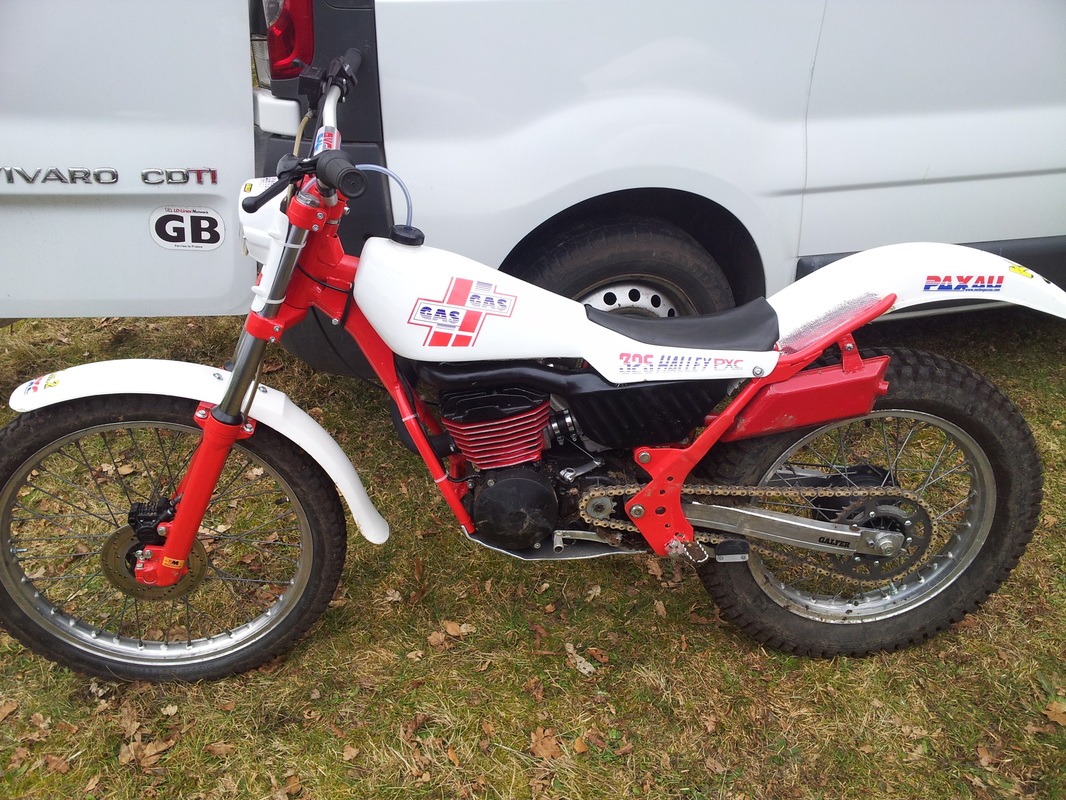
Luckily I have an immaculate original 1986 Halley already so it was great to use as reference.
I had to make the middle box and rear silencer.
I had to make the middle box and rear silencer.
1986 GasGas Halley Restoration www.retrotrials.com
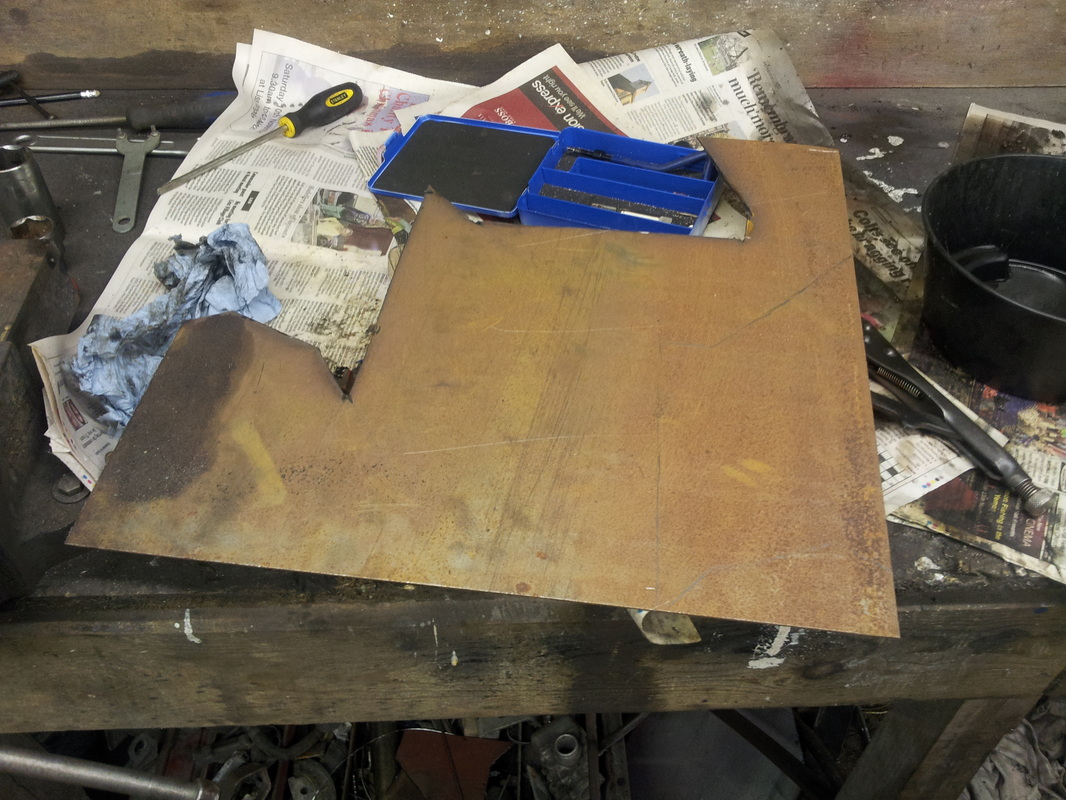
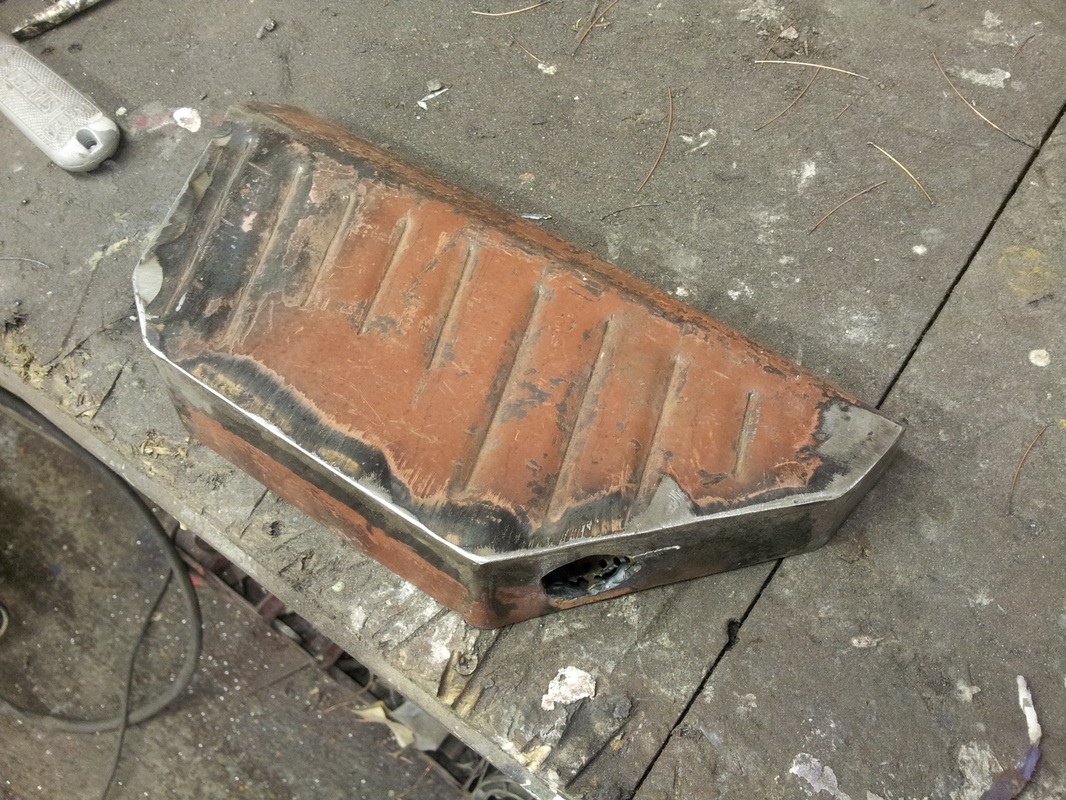
I bought some sheet steel for literally a box of tea bags from a local fabricator and using the original middle box off my clean Halley as a template, I started making cardboard templates.
1986 GasGas Halley Restoration www.retrotrials.com
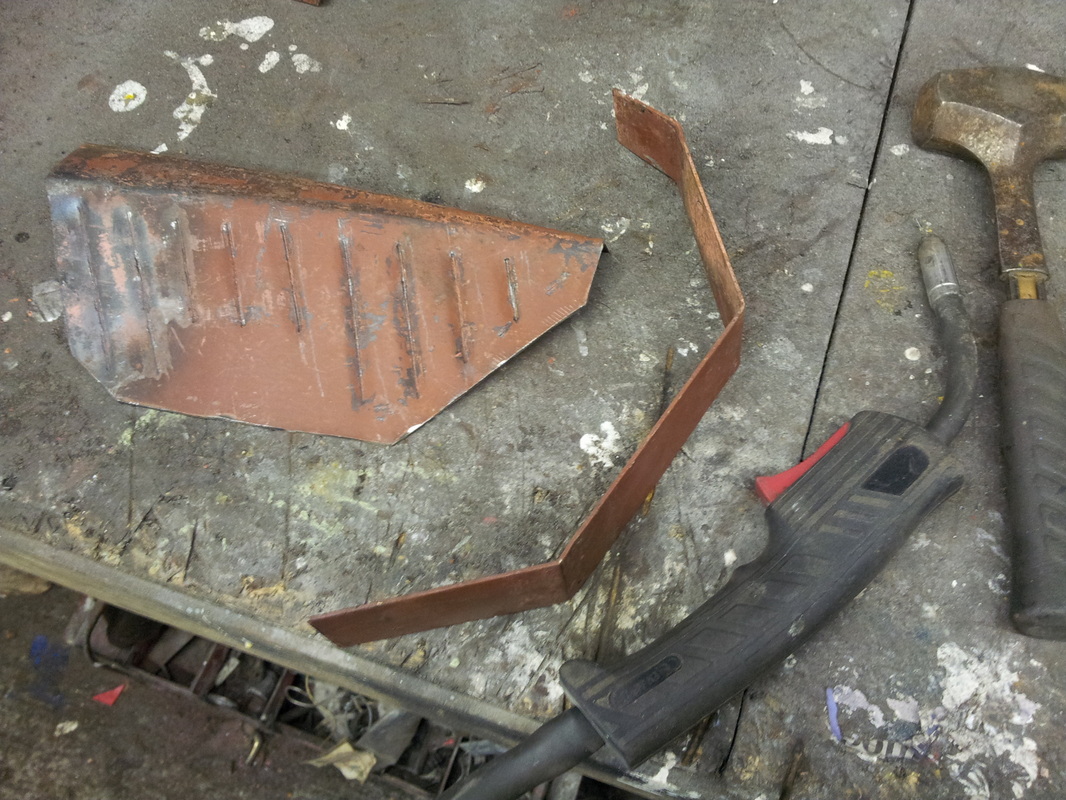
The front face was quite difficult to get right. The bends on the top weren't easy, bearing in mind I only have a large vice and a hammer. The indentations on the front face were made by placing the selected area above the slightly open jaws on a vice and hitting the exact area with a cold chisel about 6 times for each indentation. It worked perfectly and the middle box front face looks great.
The other bottom face was easy in comparison.
The other bottom face was easy in comparison.
1986 GasGas Halley Restoration www.retrotrials.com
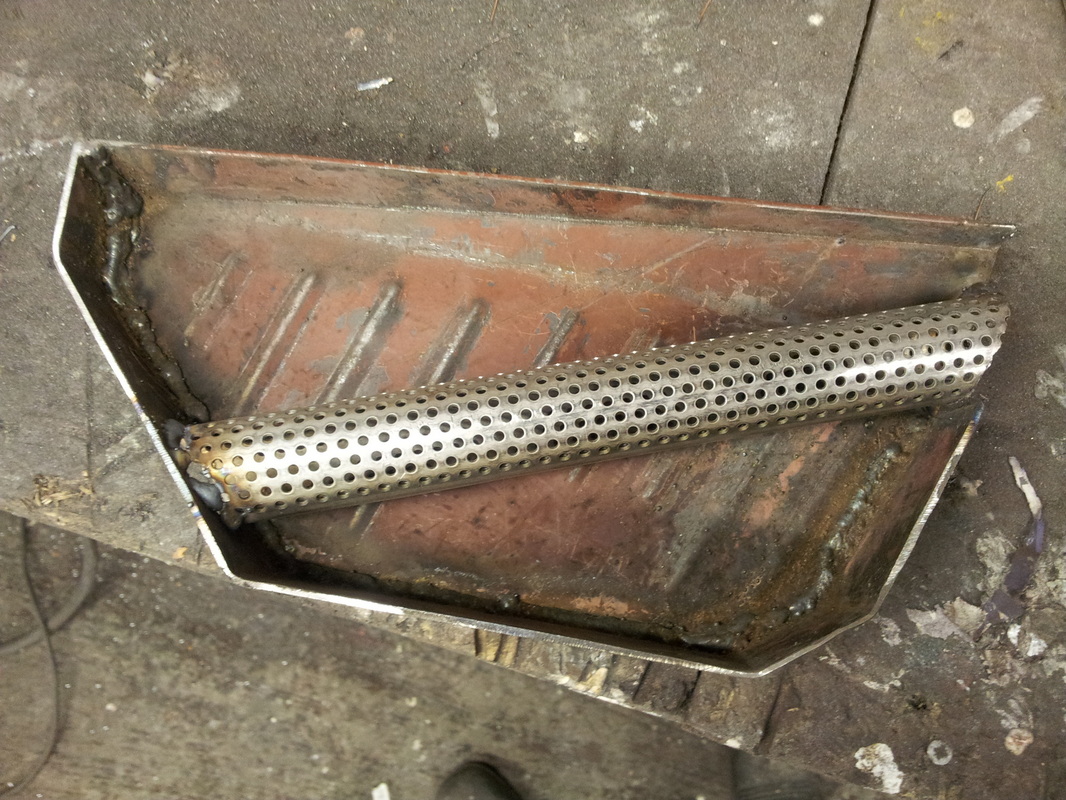
From the other side. I bought this perforated silencer tubing online and cut it into shape and then tacked it into place.
I checked the run of the original Halley Exhaust inner pipe and this one matches exactly.
I checked the run of the original Halley Exhaust inner pipe and this one matches exactly.
1986 GasGas Halley Restoration www.retrotrials.com
Its starting to look reasonable.
1986 GasGas Halley Restoration www.retrotrials.com
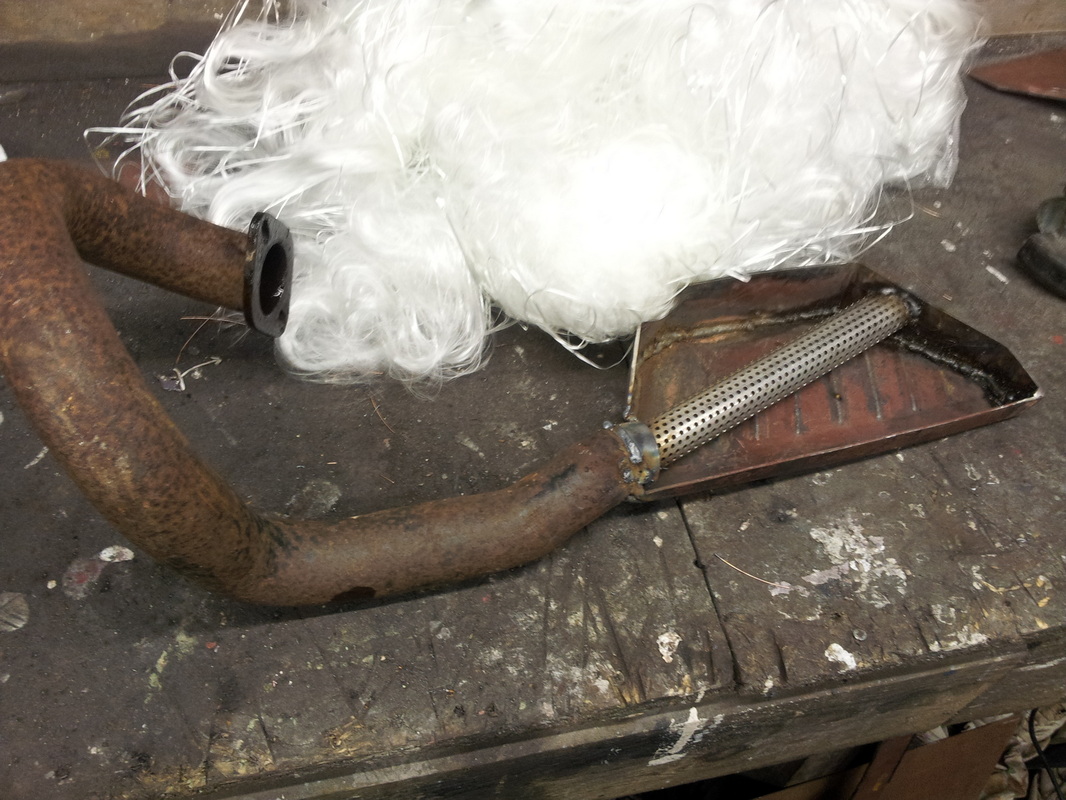
It was awfully fiddly to cram the loose exhaust packing into the middle box, but after 10 minutes it was in dense enough to make a difference.
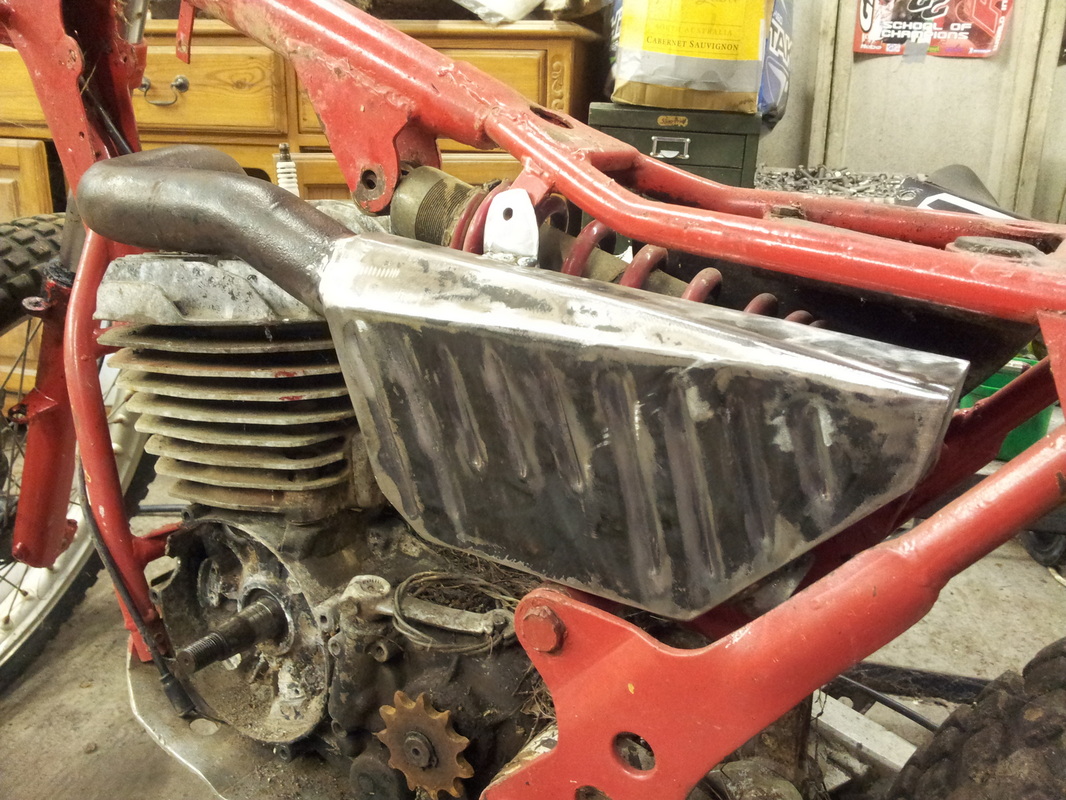
Then I put the whole pipe up on the bike to make sure it would fit and look right and then mig welded the original pipe to the box I had made.
Then I put the whole pipe up on the bike to make sure it would fit and look right and then mig welded the original pipe to the box I had made.
1986 GasGas Halley Restoration www.retrotrials.com
After fitting the back plate to the exhaust I then joined a top lug to attach it to the frame.
I then got out some of the same sheet steel and made some round pipe for the outlet pipe at the rear and then attached it.
I then got out some of the same sheet steel and made some round pipe for the outlet pipe at the rear and then attached it.
1986 GasGas Halley Restoration www.retrotrials.com
I found that my 130 amp Mig welder was only JUST enough to complete this project. They say that 130amps = 1.3mm thick mild steel. 140amp = 1.4mm thick mild steel. I was using 1.4mm sheet steel, so my mig only just cut the mustard.