Page 7 1986 GasGas Halley restoration
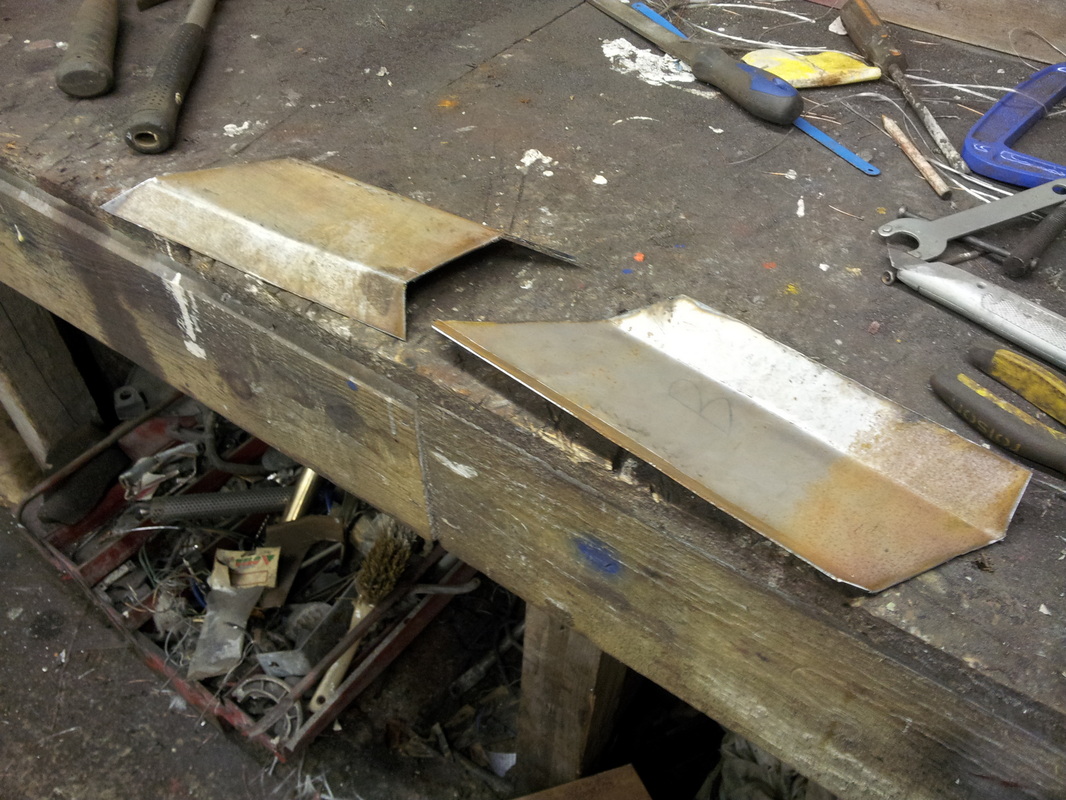
Now onto the rear silencer. Again I made the cardboard templates and then laid them on to the sheet steel and then cut them out using an angle grinder. I then bent them into shape using a large vice and a club hammer. I checked the angles using a protractor which was the first time I'd picked one up since my school days :).
1986 GasGas Halley Restoration www.retrotrials.com
Now the two halves are welded together.
1986 GasGas Halley Restoration www.retrotrials.com
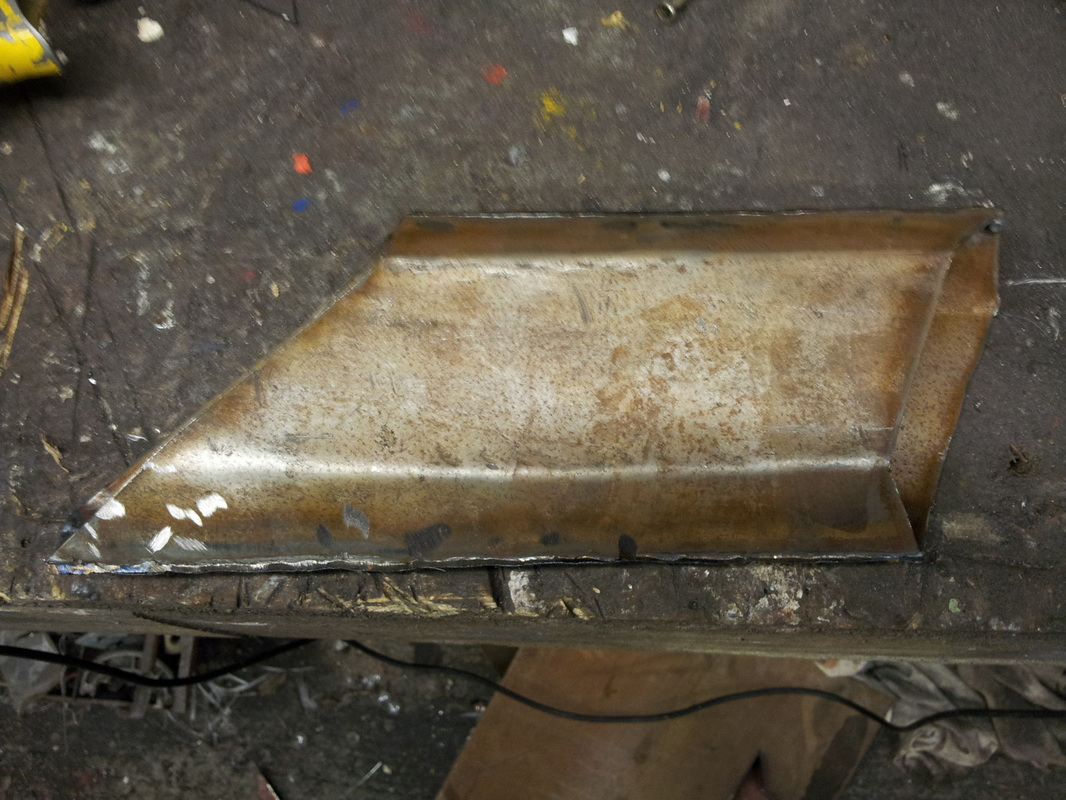
In a similar fashion to the middle box, I created the rear end section and cut the hole in the correct position and to the right size. I then tack welded the interior perforated pipe (bought on ebay and cut to size) to sit at the correct angle. I then packed it to the correct density and then cut out of steel the left lower end plate. I then drilled and ground out this second hole in line with the pipe and then attached it. I then attached the mounting frame and then Bob's your uncle .....it's finished. I put the whole system on my original GasGas Halley and found the bike ran pefectly. The bike revved as it should so was breathing correctly. The exhaust was similar.
I'm glad I've got that out of the way.
I'm glad I've got that out of the way.
1986 GasGas Halley Restoration www.retrotrials.com
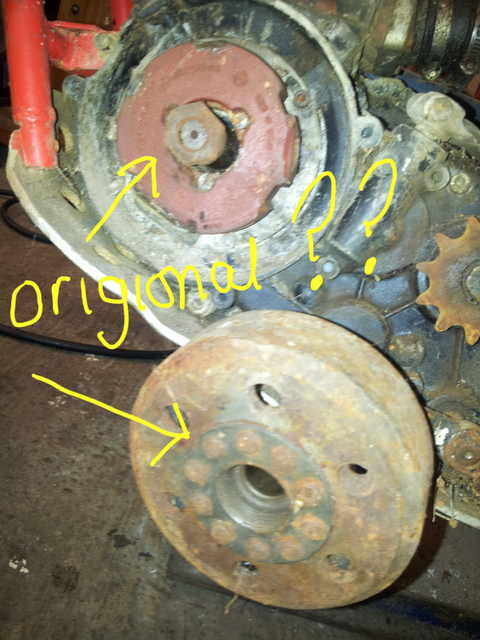
Then my attention was dawn to the ignition system. I had no idea if it worked as the engine was entirely seized !!!!. After some worries that it might not be original luckily a comparision again, confirmed that it was original. Fingers crossed that it will work.
1986 GasGas Halley Restoration www.retrotrials.com
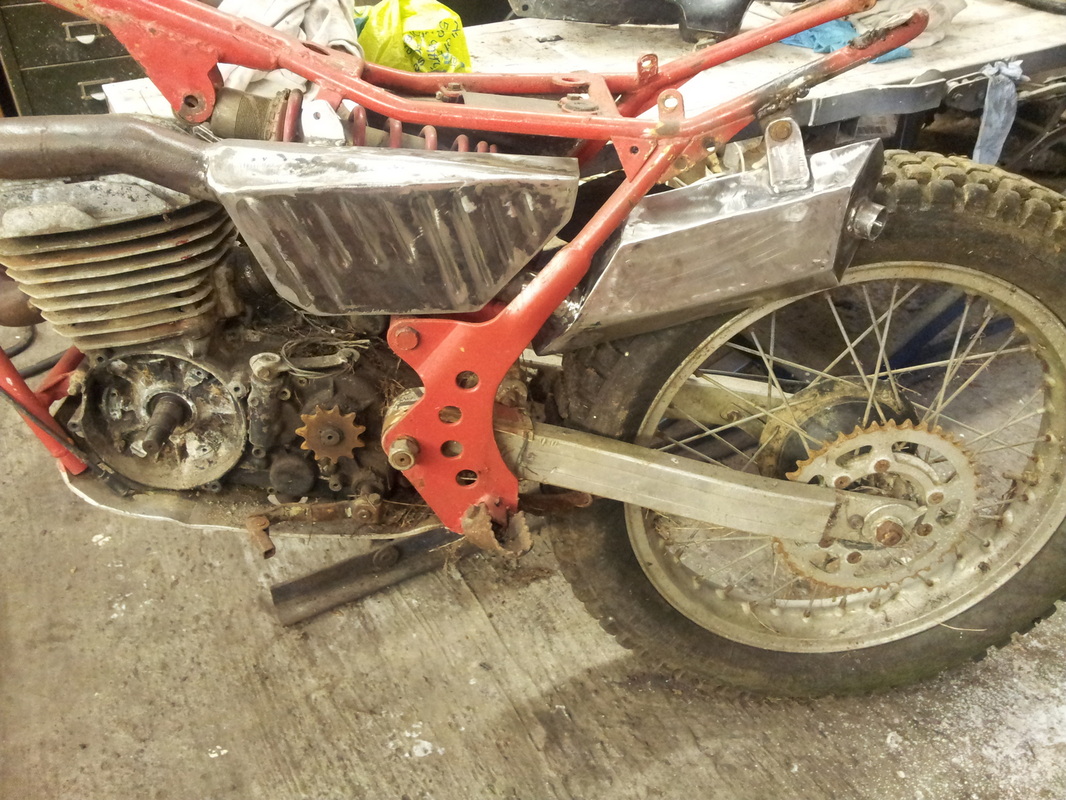
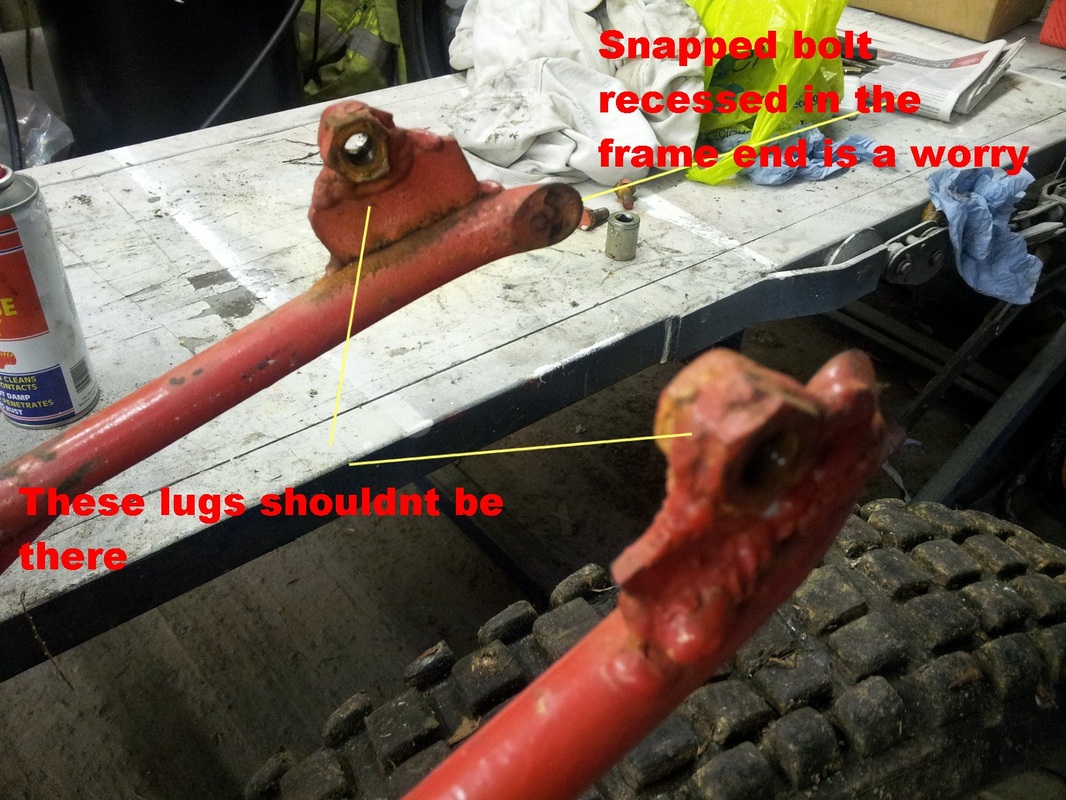
Moving onto the rear of the frame. The mudguards on this beast of a bike were attached by huge M14 bolts to the new humongous lugs sticking up in front of you. I want to go back to original so I will have to drill out the snapped off bolt in the frame that you can see in this photo. That will be tricky I'm sure.
1986 GasGas Halley Restoration www.retrotrials.com
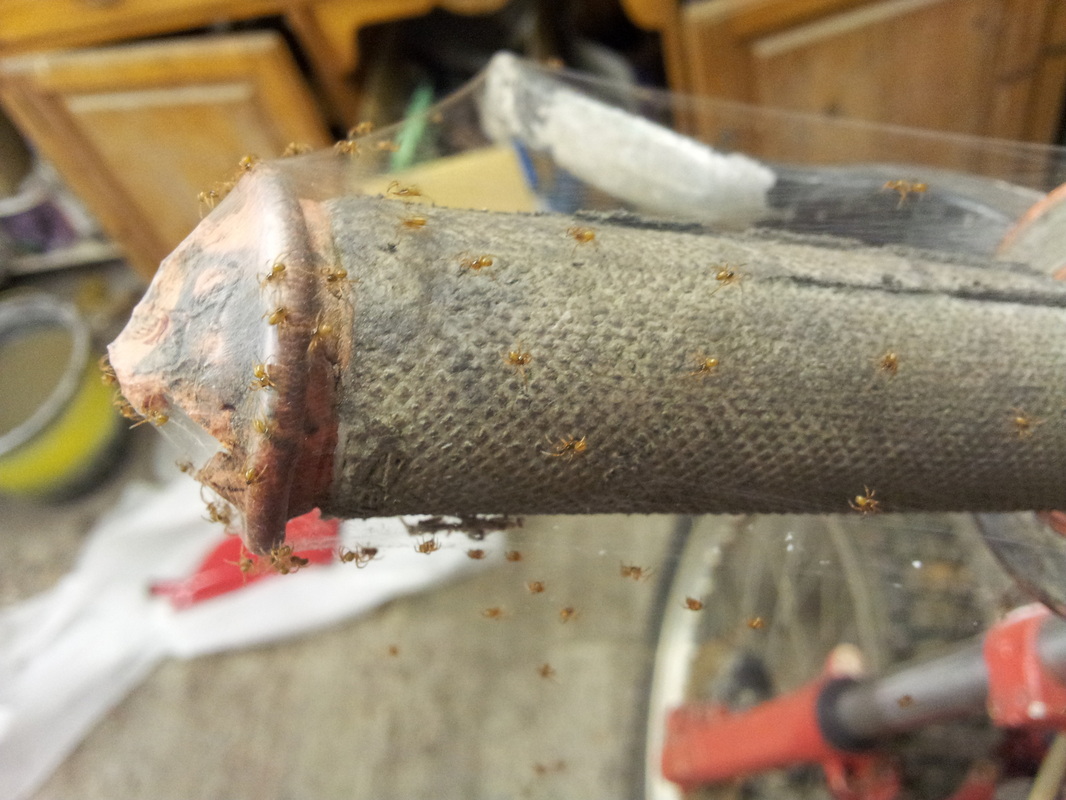
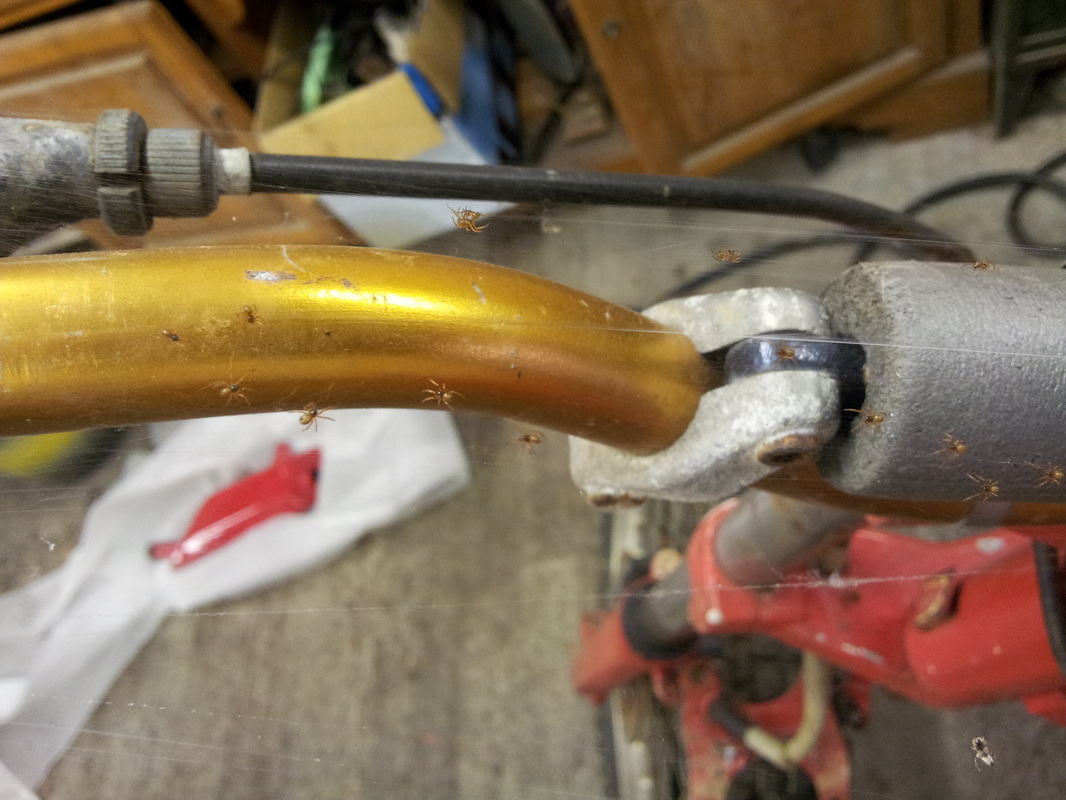
I left the bike and returned to it the next day. I found that hundreds of Spanish spiders were trying to overtake my garage and that a whole battalion of these warriors were walking tight rope from the bike's handlebars at a 45 degree angle up to the ceiling strip light. How the hell did they get that line attached. Us humans couldn't do things on that scale without so so so much machinery and helicopter. Not a chance. It makes you think :).
1986 GasGas Halley Restoration www.retrotrials.com
This is our home - bugger off :).