
The creation of the 1989 Jordi Tarres Beta proto replica
by Retro enthusiast sascha basler and with input by original designer Ricardo Bosi
and pilot - seven times world champion jordi tarres
The engine of the bike was quite good when I did the test ride at the beginning, but I didn’t want to use that engine for my
Prototype.The very first prototype of a Zero was presented in 1989. It was the first water cooled Beta at this time. In fact it
was a Prototype
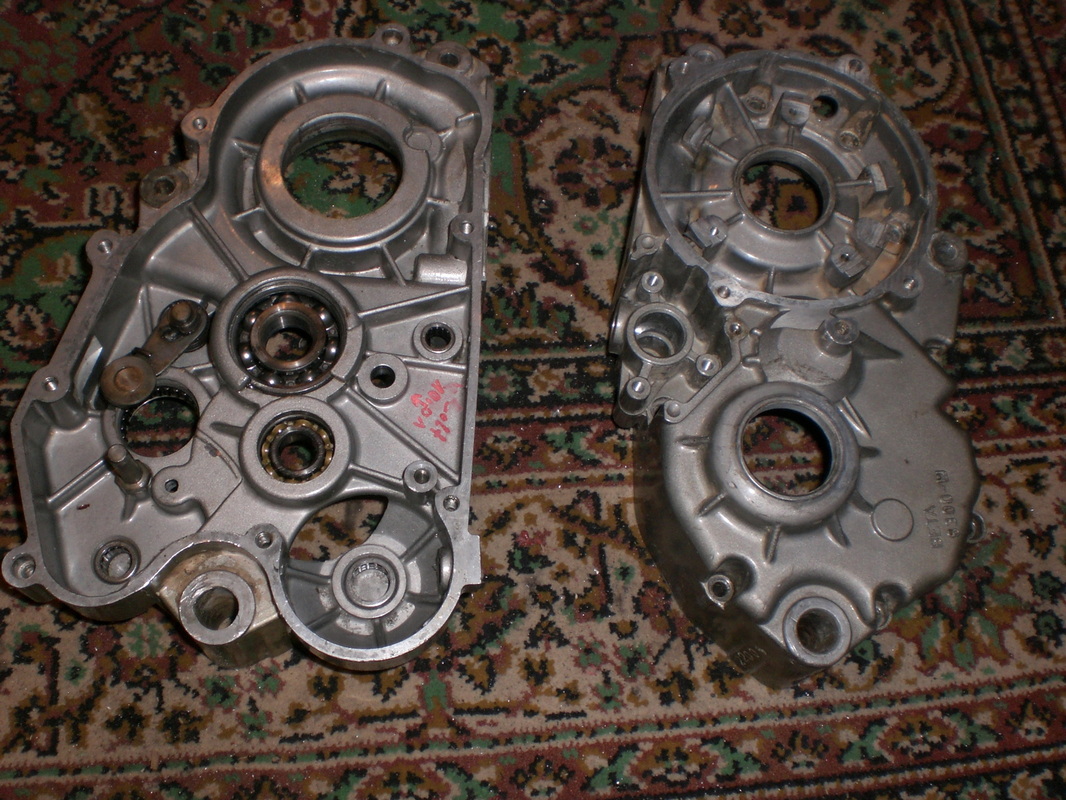
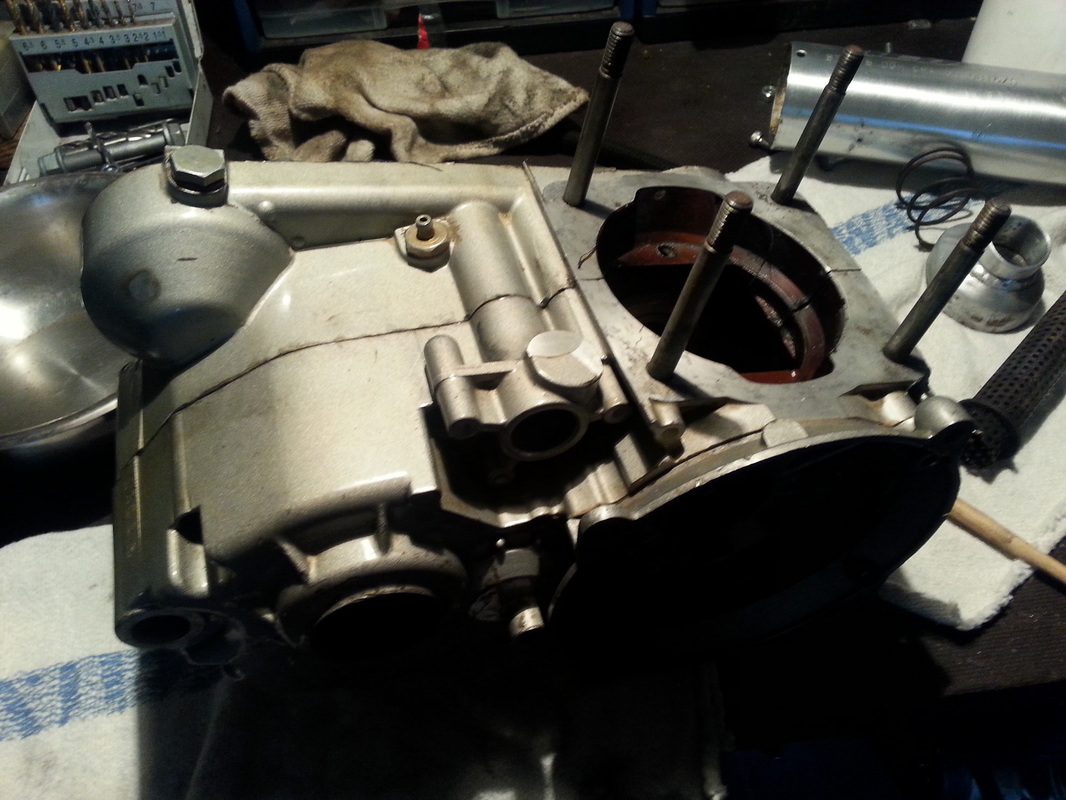
Many things have not been really finished. Beta decided not to create a new water cooled crank case but rather to get the
TR34 engine into watercooling. The alley for the water pump gear bearings did exist already. Also the seal face for the coolant
passage was there. But all the signified holes for the TR34 were closed and had to be opened by boring.
So I tried to get a TR34 crankcase through eBay in good condition, and I decided to open the coolant passage and the bore
for the water pump gear. You cannot see the tricky modification on the finished bike, but I would know it was an air cooled
case and also the Beta factory used such a crank case for the first water cooled bike. So I was under compulsion to go that way.
Prototype.The very first prototype of a Zero was presented in 1989. It was the first water cooled Beta at this time. In fact it
was a Prototype
Many things have not been really finished. Beta decided not to create a new water cooled crank case but rather to get the
TR34 engine into watercooling. The alley for the water pump gear bearings did exist already. Also the seal face for the coolant
passage was there. But all the signified holes for the TR34 were closed and had to be opened by boring.
So I tried to get a TR34 crankcase through eBay in good condition, and I decided to open the coolant passage and the bore
for the water pump gear. You cannot see the tricky modification on the finished bike, but I would know it was an air cooled
case and also the Beta factory used such a crank case for the first water cooled bike. So I was under compulsion to go that way.
1988 JordiTarres Beta proto replica www.retrotrials.com
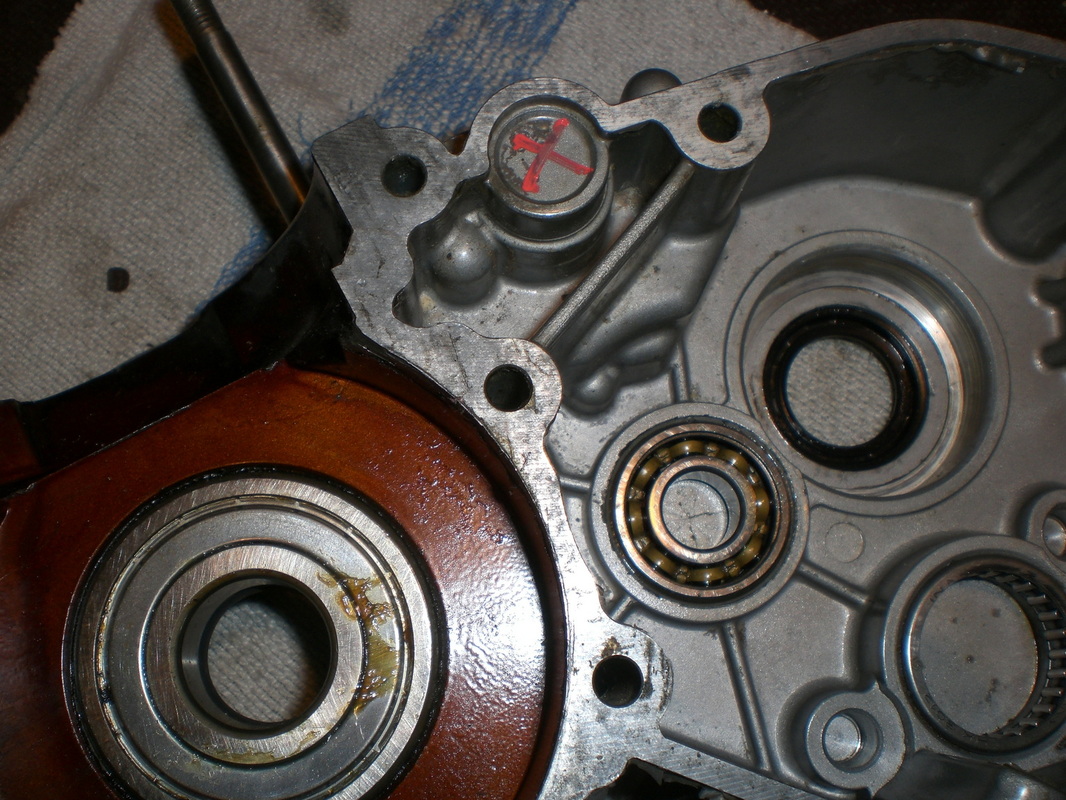
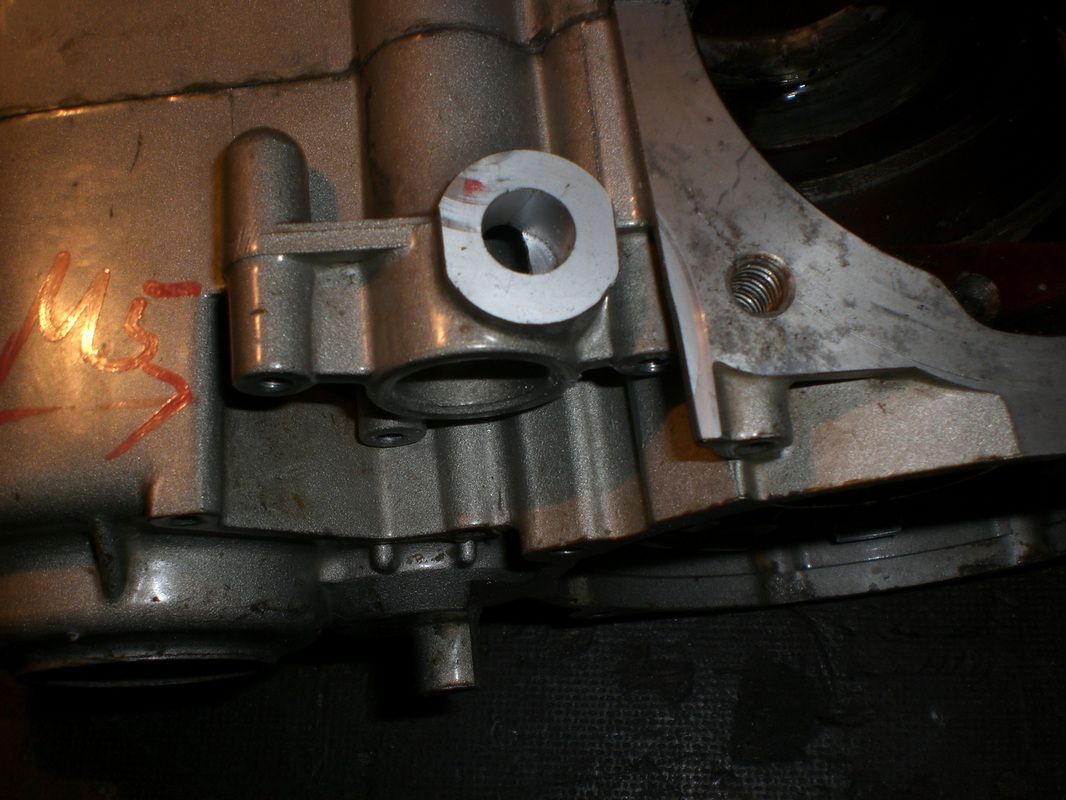
The bearing hole for the water pump gear and the seal ring has to be opened.
1988 JordiTarres Beta proto replica www.retrotrials.com
I started to measure the holes on a corroded magnesium case.
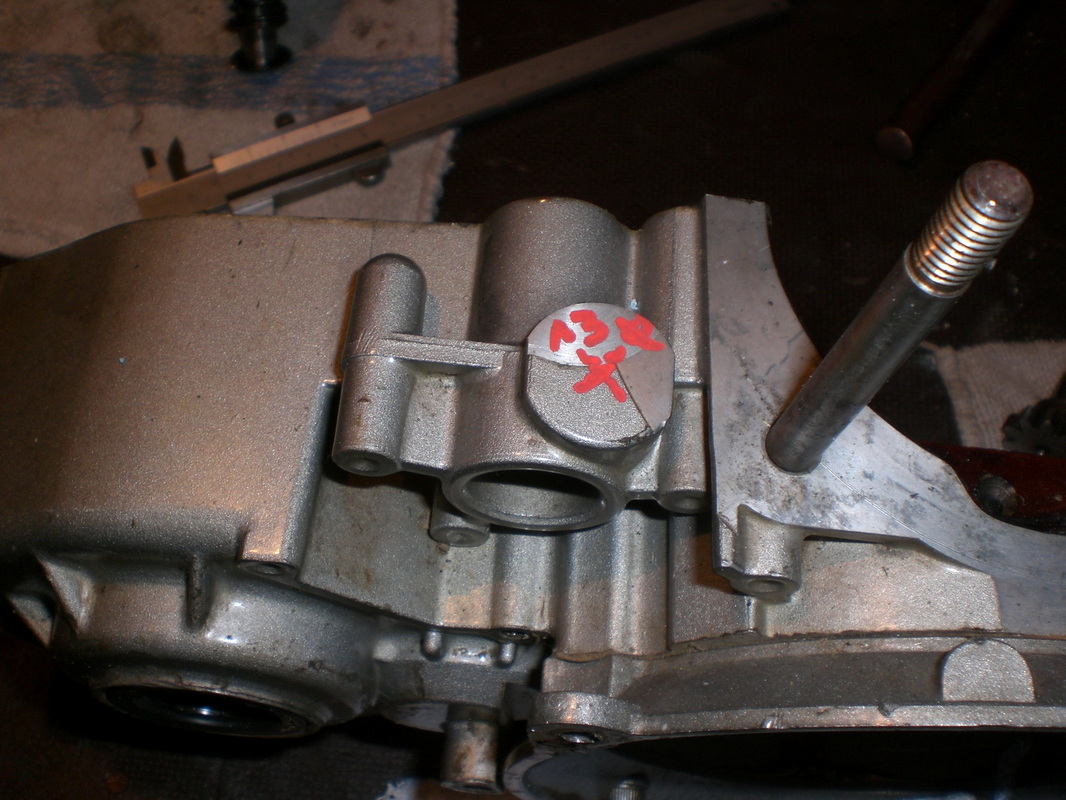
Marking all the modifications for water cooling. 13 mm hole has to be drilled.
Marking all the modifications for water cooling. 13 mm hole has to be drilled.
1988 JordiTarres Beta proto replica www.retrotrials.com
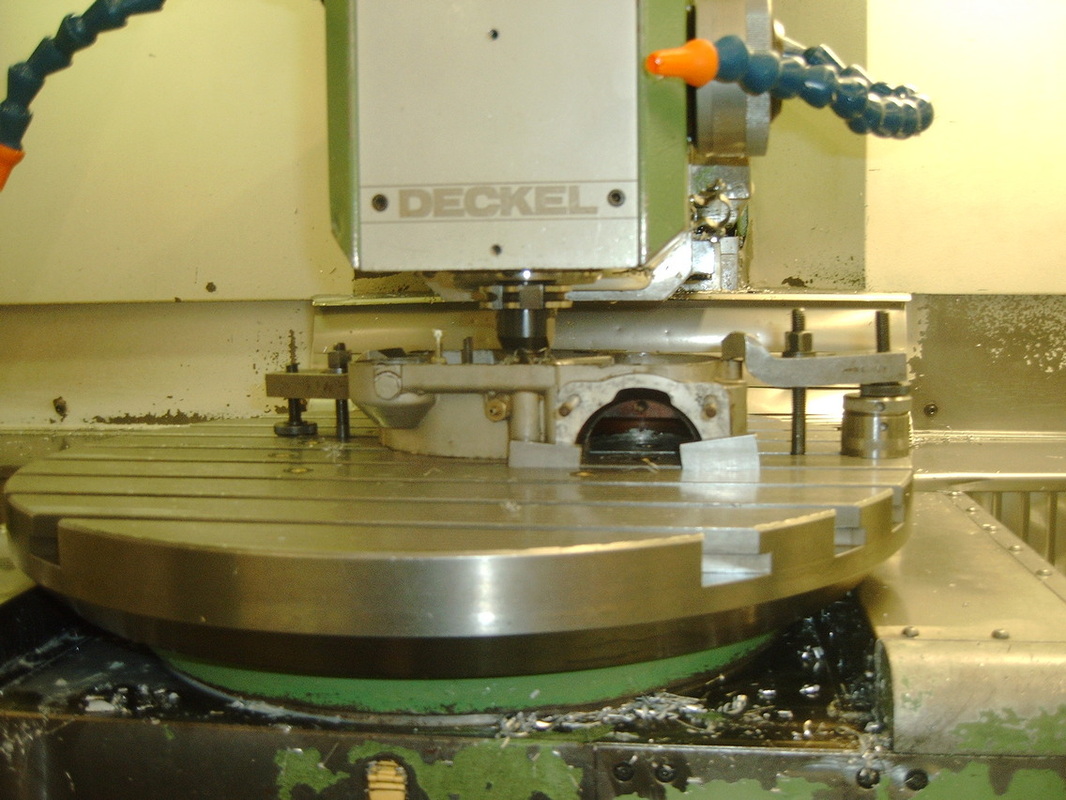
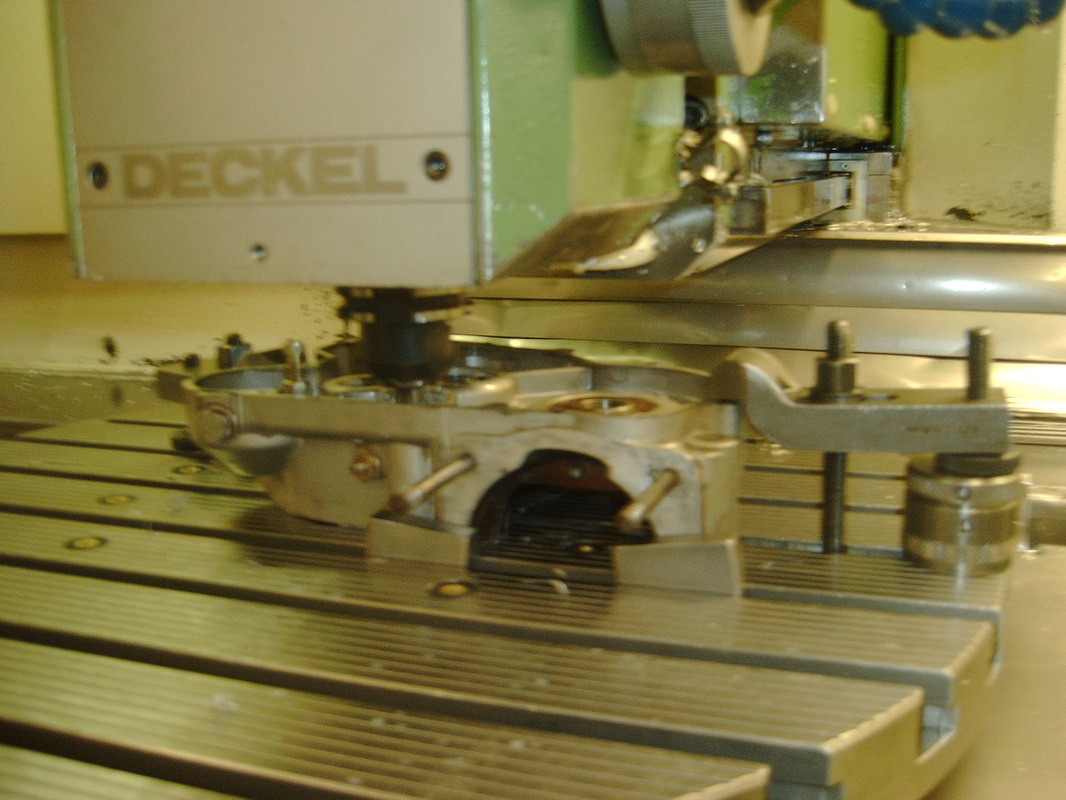
The positions for the baring holes had to transfer to the TR crank case, which was very tricky and one mistake would have caused a damage of the case. The case was modified by a CNC lathe and all I could do was waiting until the case was ready. I was very relieved when I got the case out of the CNC lathe.
1988 JordiTarres Beta proto replica www.retrotrials.com
|
1988 JordiTarres Beta proto replica www.retrotrials.com
|
One mistake would make the case useless
1988 JordiTarres Beta proto replica www.retrotrials.com
|
1988 JordiTarres Beta proto replica www.retrotrials.com
|
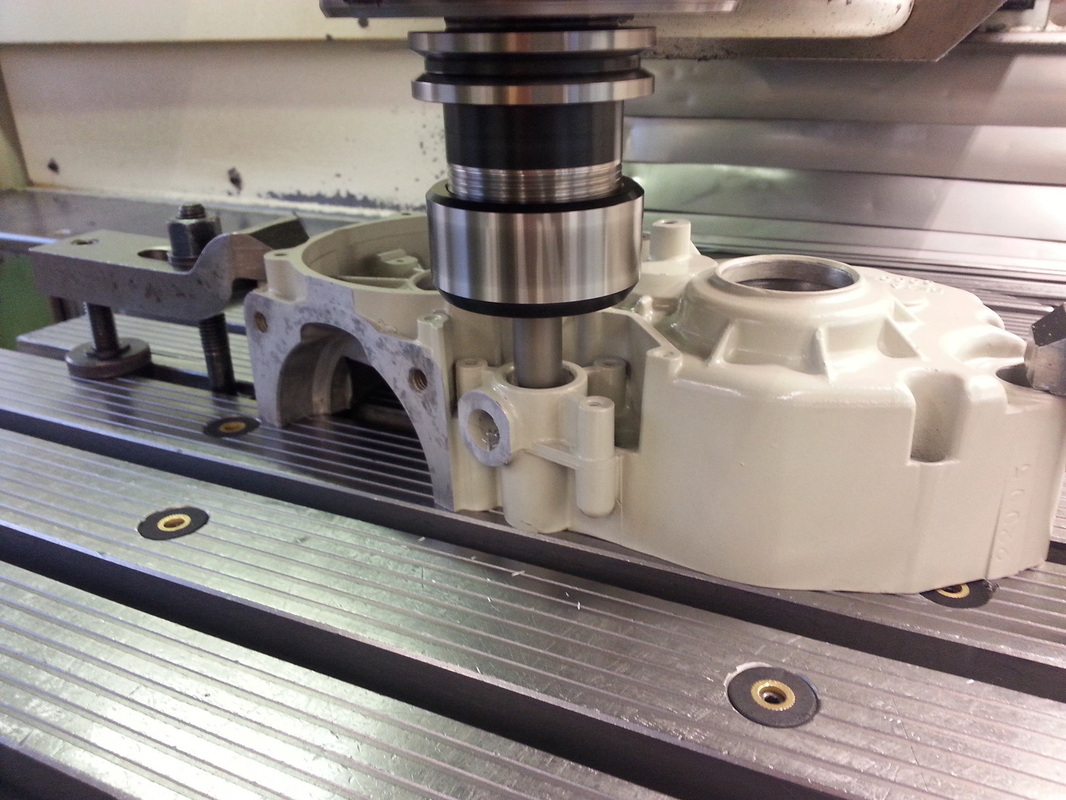
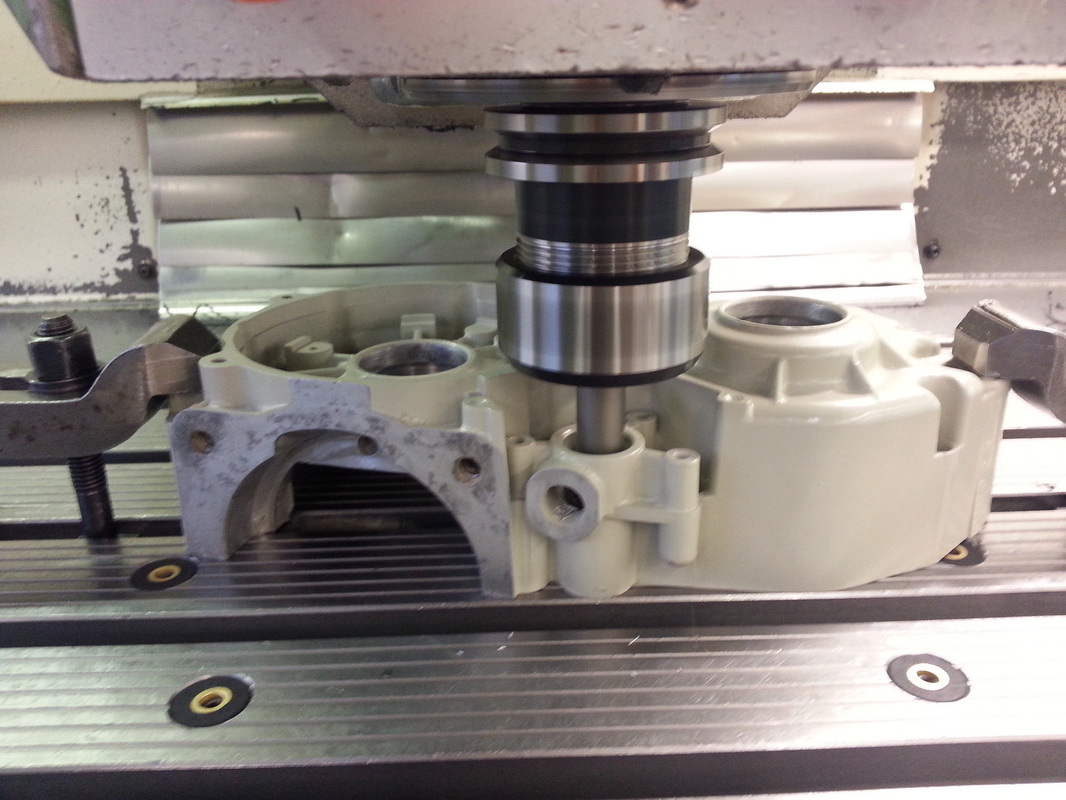
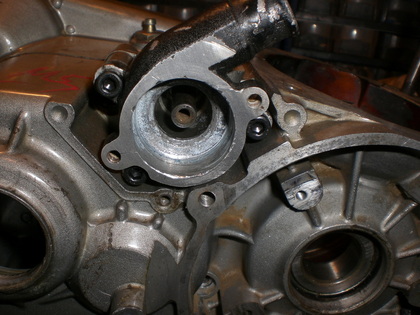
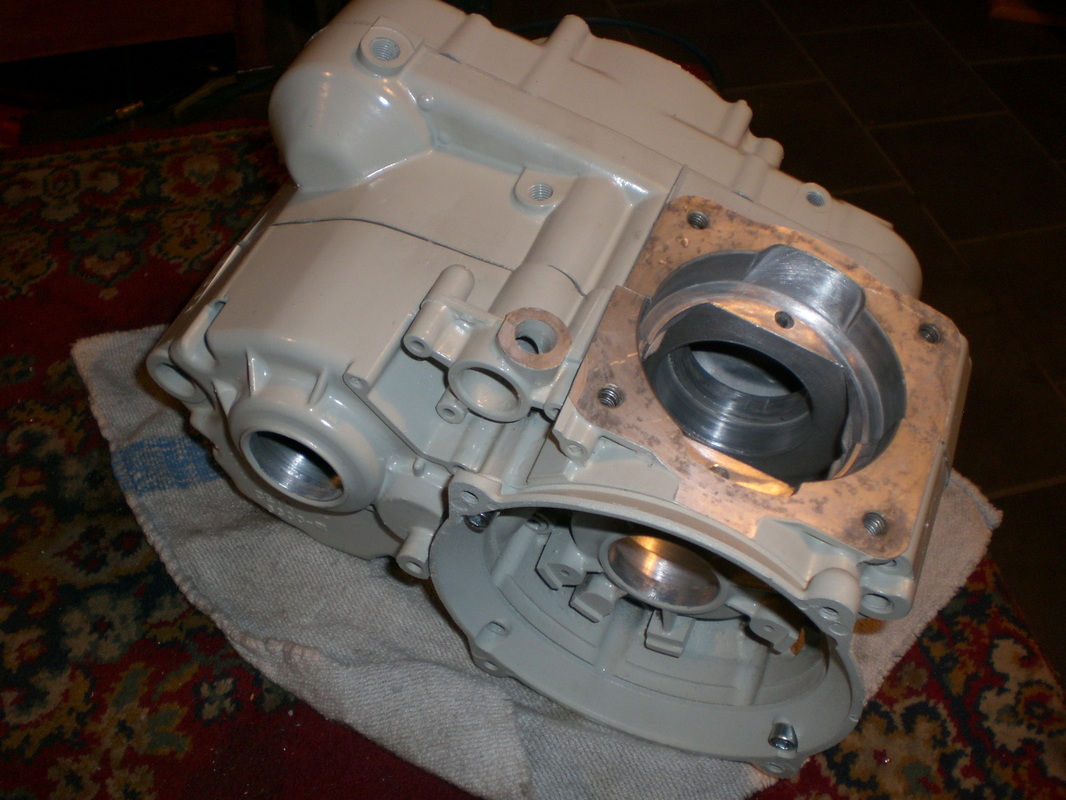
It worked very well and the pump gear fitted perfectly. I have inserted the little bearings and did some little modifications on
the hole for the coolant passage by hand. Air cooled TR34 Crank case
the hole for the coolant passage by hand. Air cooled TR34 Crank case
1988 JordiTarres Beta proto replica www.retrotrials.com
|
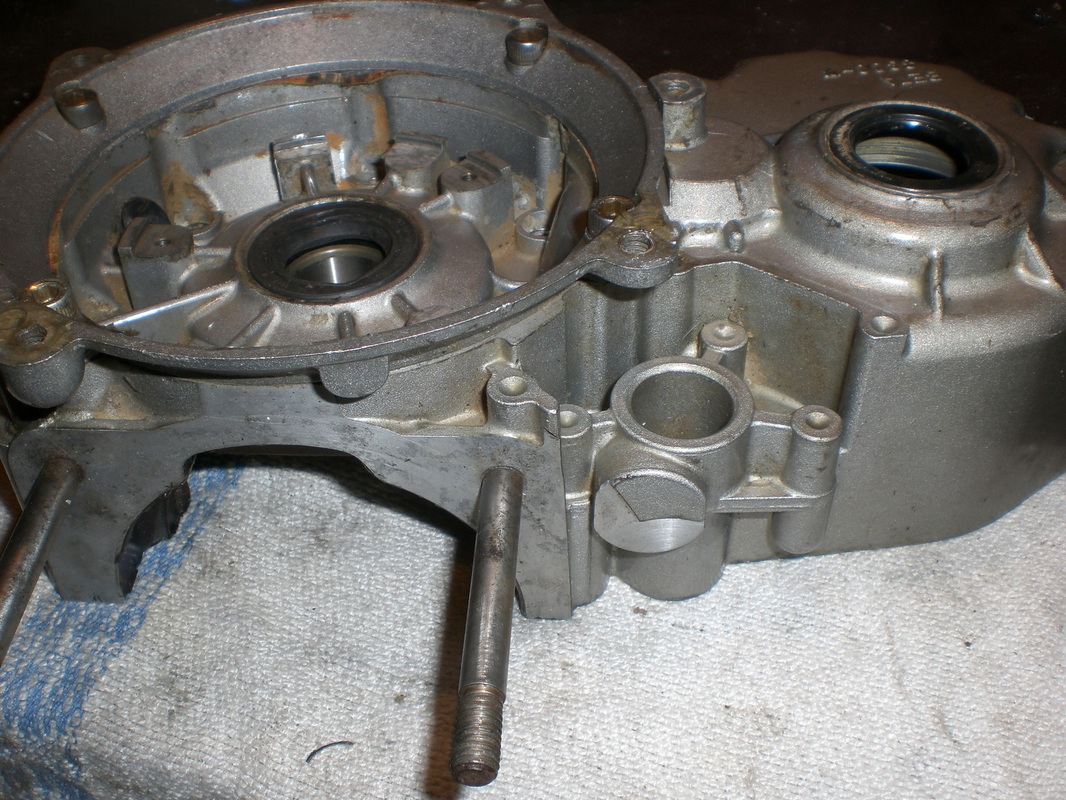
A view of the opened water passage
1988 JordiTarres Beta proto replica www.retrotrials.com
|
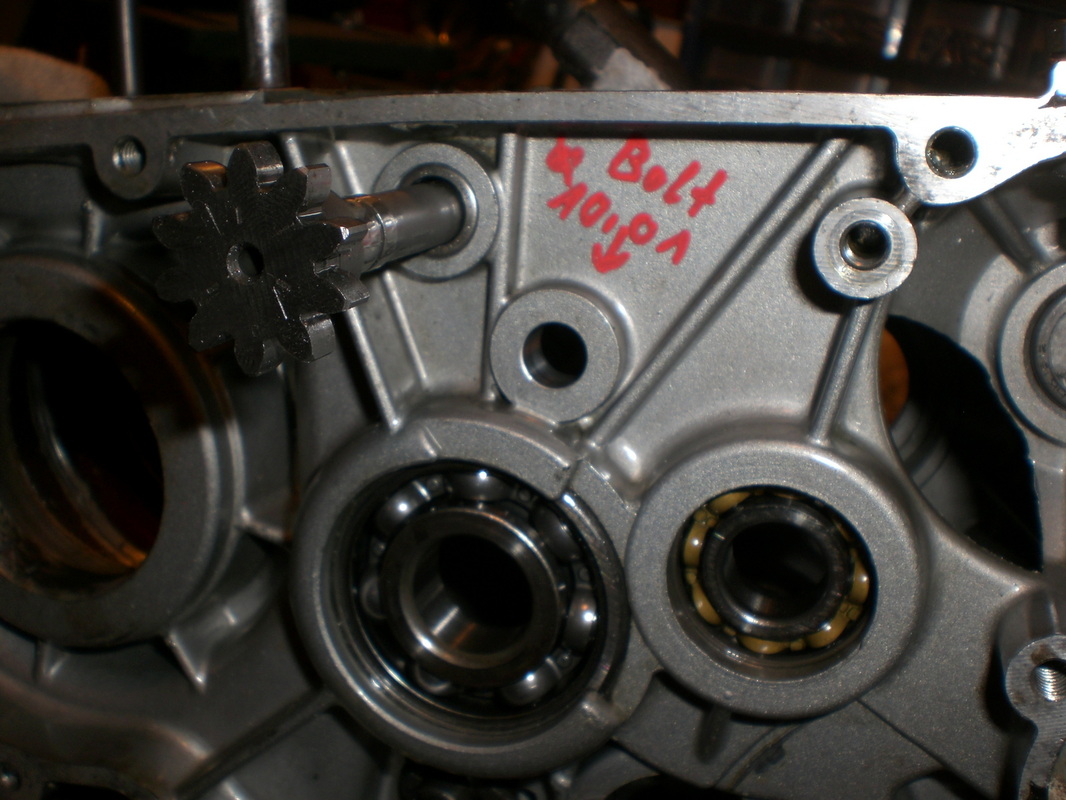
Water pump gear passage and threads for the pump housing
1988 JordiTarres Beta proto replica www.retrotrials.com
|
|
Opened hole for the idler gear
1988 JordiTarres Beta proto replica www.retrotrials.com
|
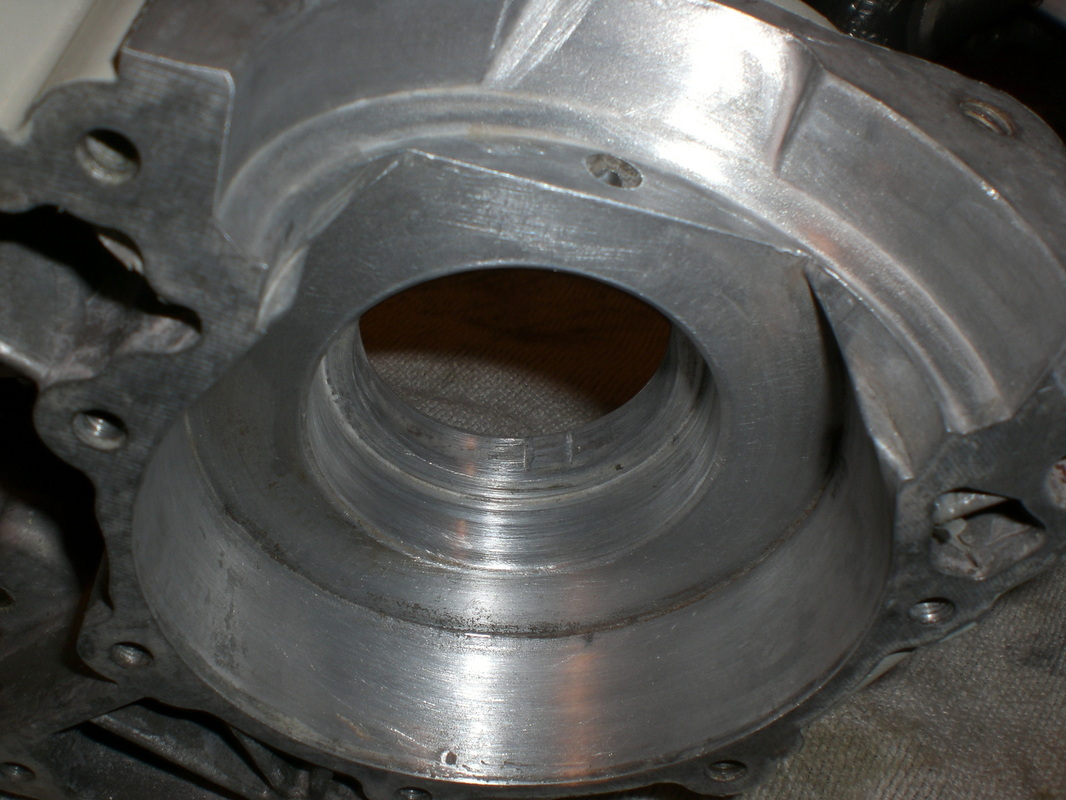
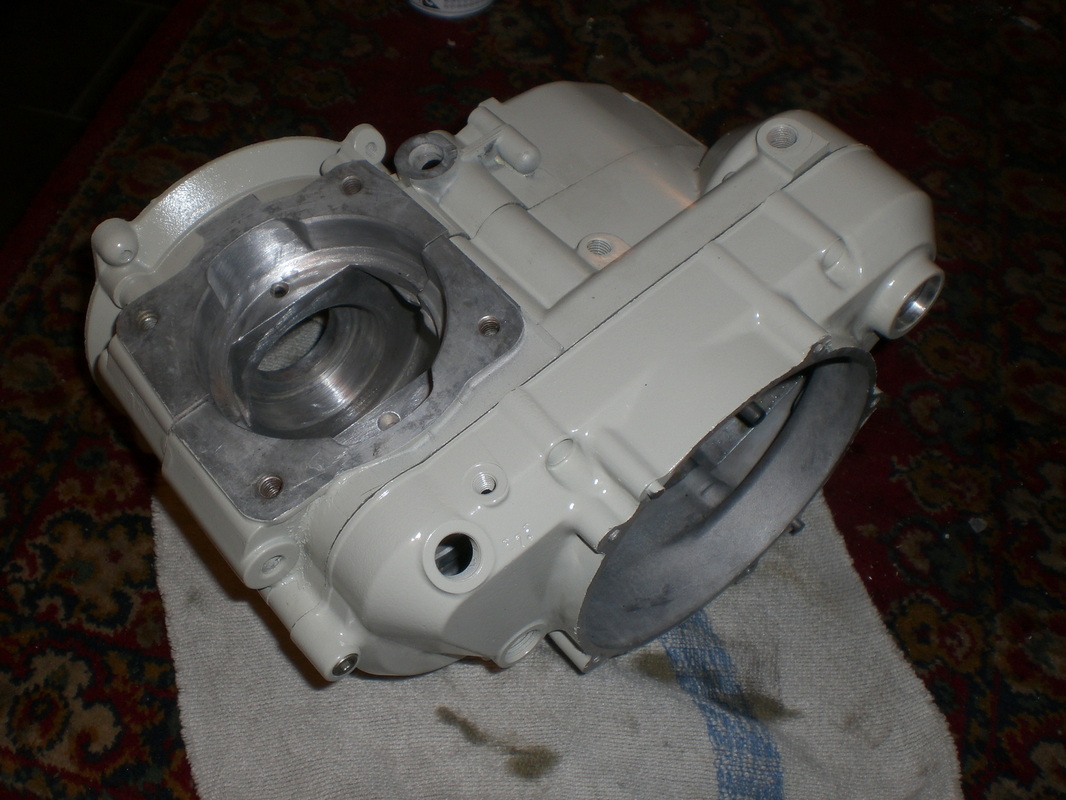
Cleaned and buffed crank housing
1988 JordiTarres Beta proto replica www.retrotrials.com
|
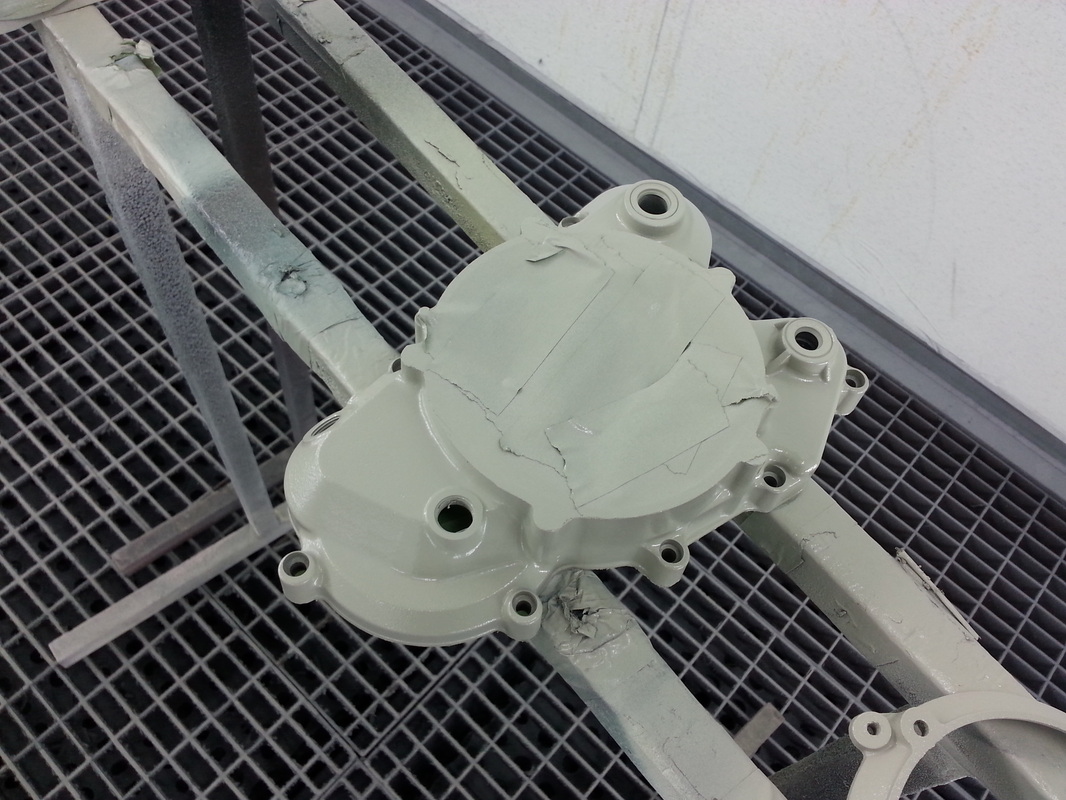
Now the case should have been ready this far and I could take care about the painting. I had to remove the old paint off the
case, because I wanted to get a perfect smooth surface before the repaint. I used color ex and wrapped the case up with
plastic foil.
case, because I wanted to get a perfect smooth surface before the repaint. I used color ex and wrapped the case up with
plastic foil.
The original factory paint was looking shabby
1988 JordiTarres Beta proto replica www.retrotrials.com
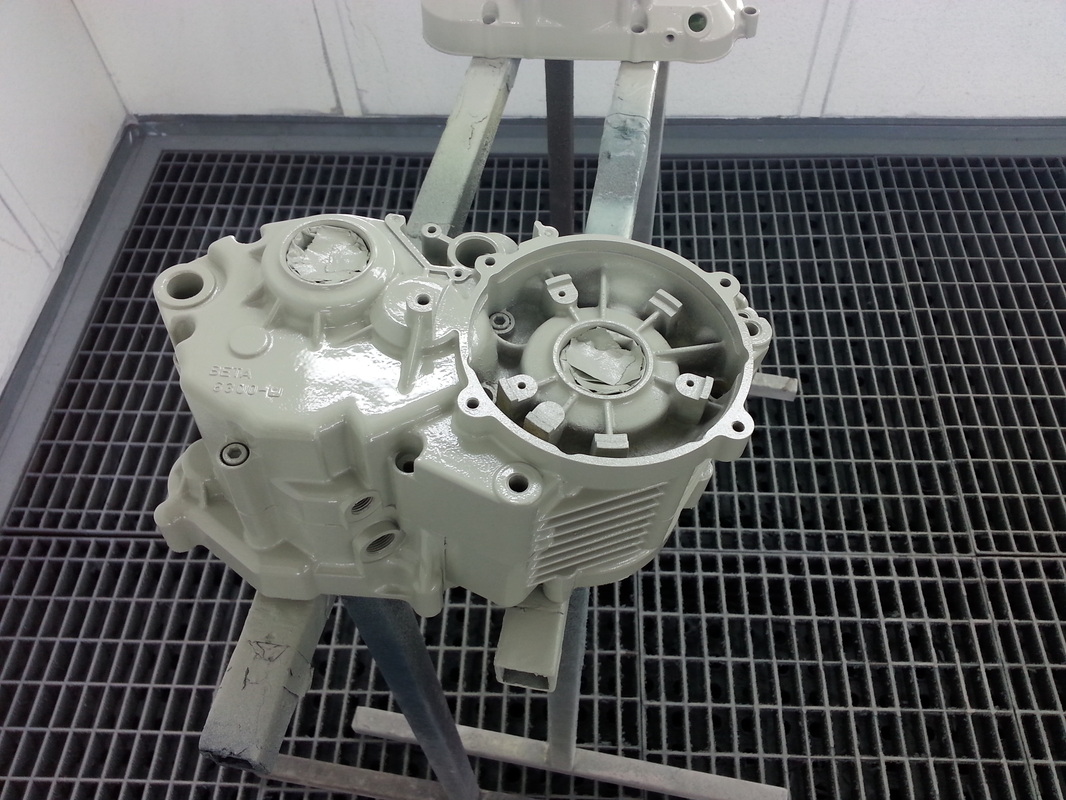
Its more effective and you get off the color easier. The result was a brand new looking sheer aluminum case. I started with
very thin spraying of epoxy primer. It’s very important when you want to paint sheer aluminum.
I mixed the same beige color for the engine as Beta Factory used in those days. Its always funny for me to play around with
different colors to get the perfect shade.
very thin spraying of epoxy primer. It’s very important when you want to paint sheer aluminum.
I mixed the same beige color for the engine as Beta Factory used in those days. Its always funny for me to play around with
different colors to get the perfect shade.
1988 JordiTarres Beta proto replica www.retrotrials.com
|

1988 JordiTarres Beta proto replica www.retrotrials.com
|
1988 JordiTarres Beta proto replica www.retrotrials.com
|
1988 JordiTarres Beta proto replica www.retrotrials.com
|
1988 JordiTarres Beta proto replica www.retrotrials.com
|