
page 5 Sascha Basler's 1987 Beta TR34 Trial restoration
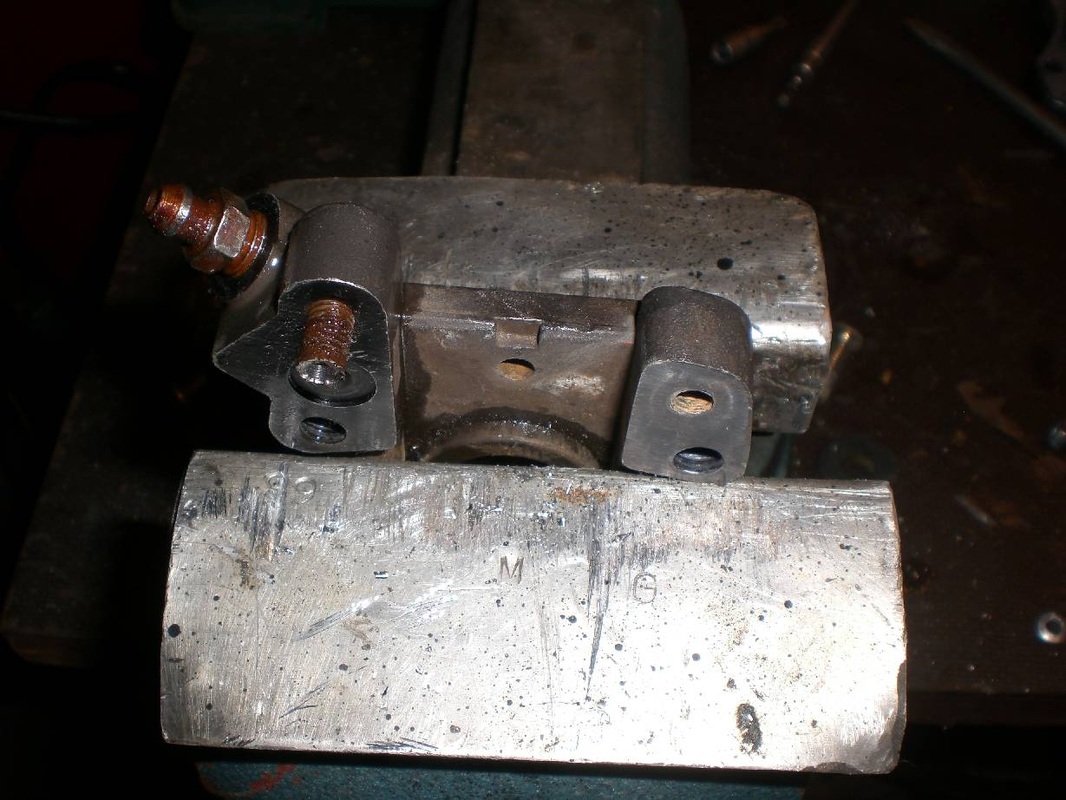
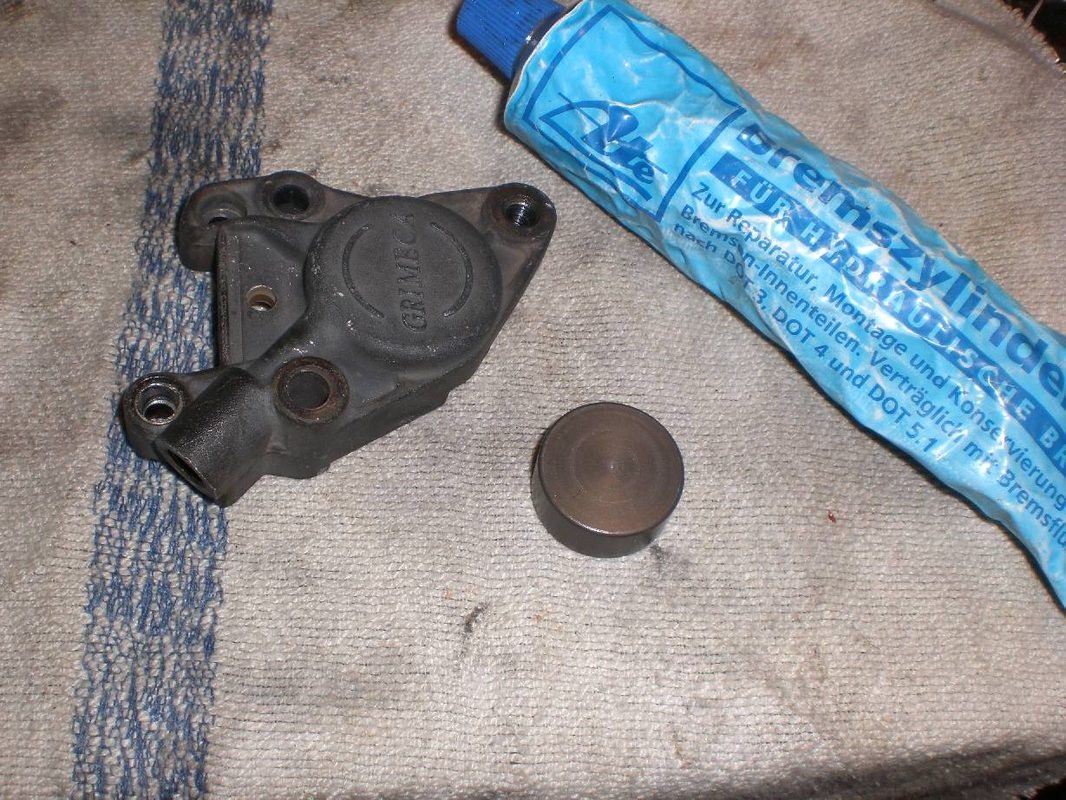
Here Sascha results the rear brake caliper.In many cases the pistons can be cleaned up with wet and dry paper and WD40.
Sascha Basler's 1987 Beta TR34 Trial restoration
|
Sascha Basler's 1987 Beta TR34 Trial restoration
|
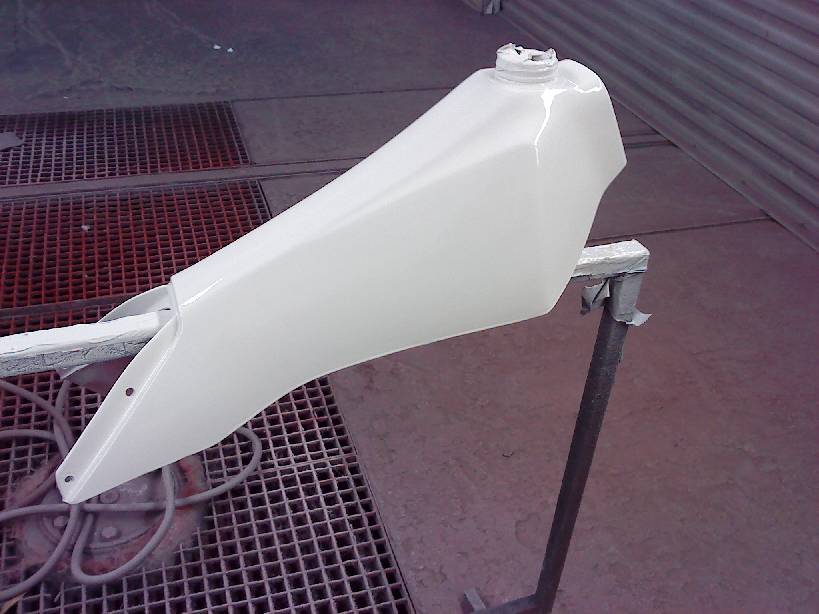
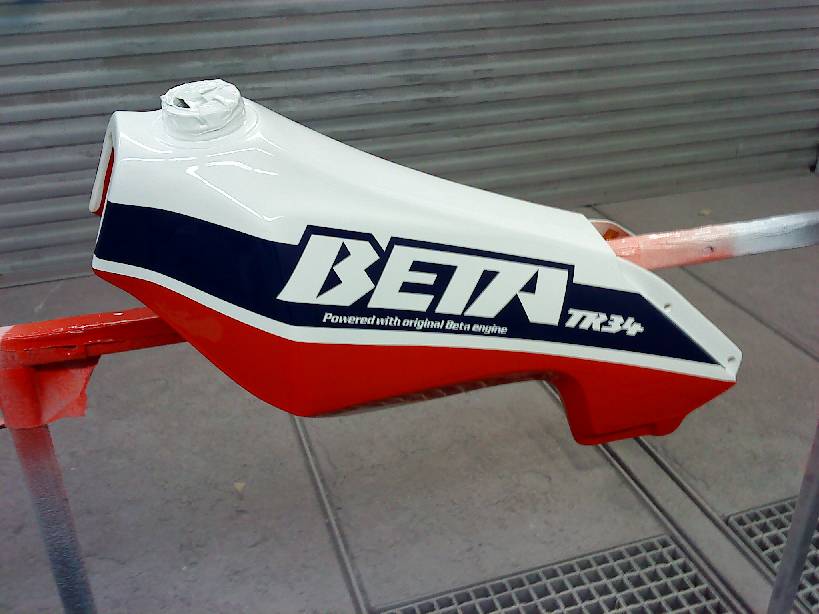
Now to paint the petrol tank.. You can see here that Sascha has access to a spray booth ensuring good thick paint and a dust free enviroment.
Sascha Basler's 1987 Beta TR34 Trial restoration
|
Sascha Basler's 1987 Beta TR34 Trial restoration
|
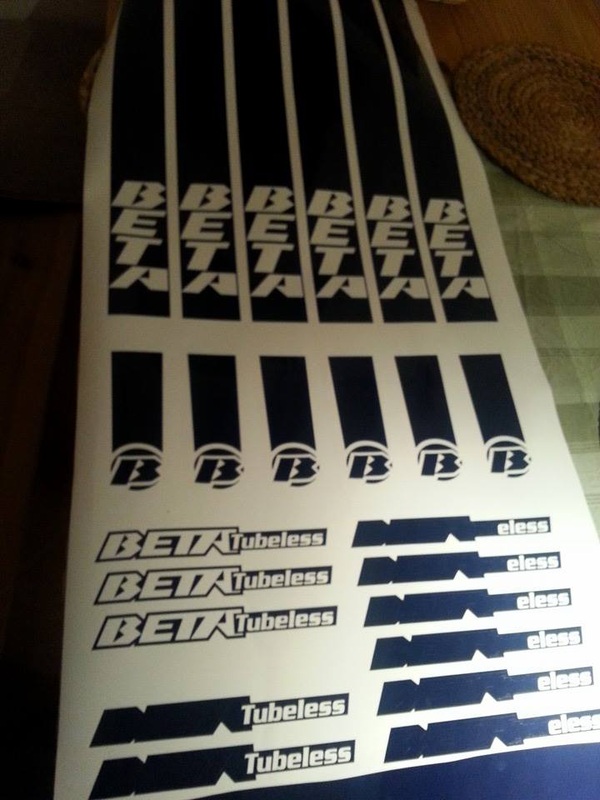
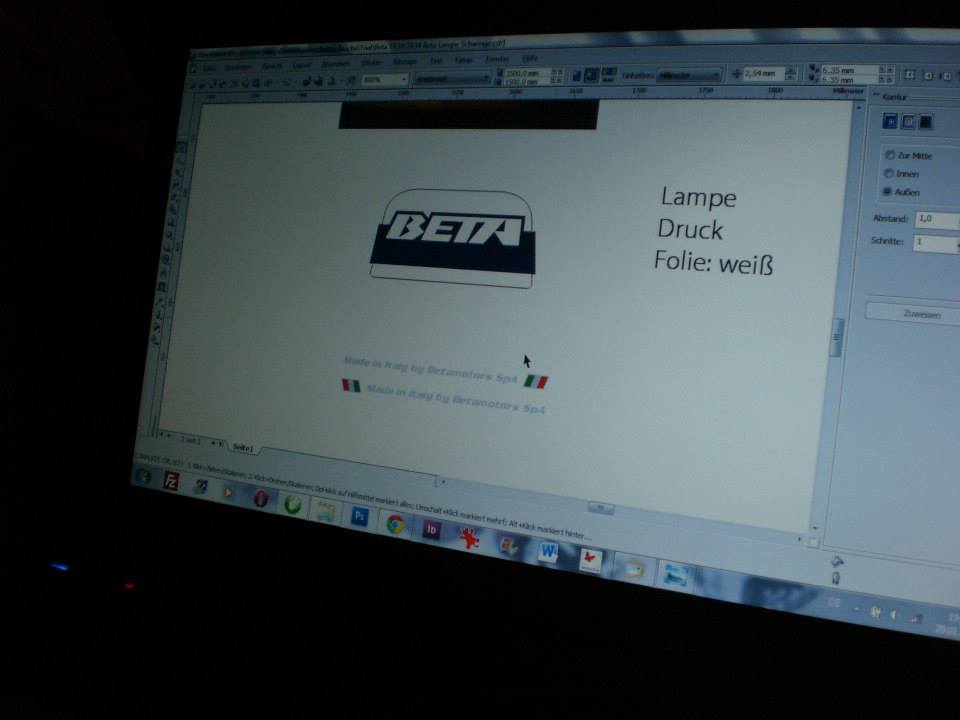
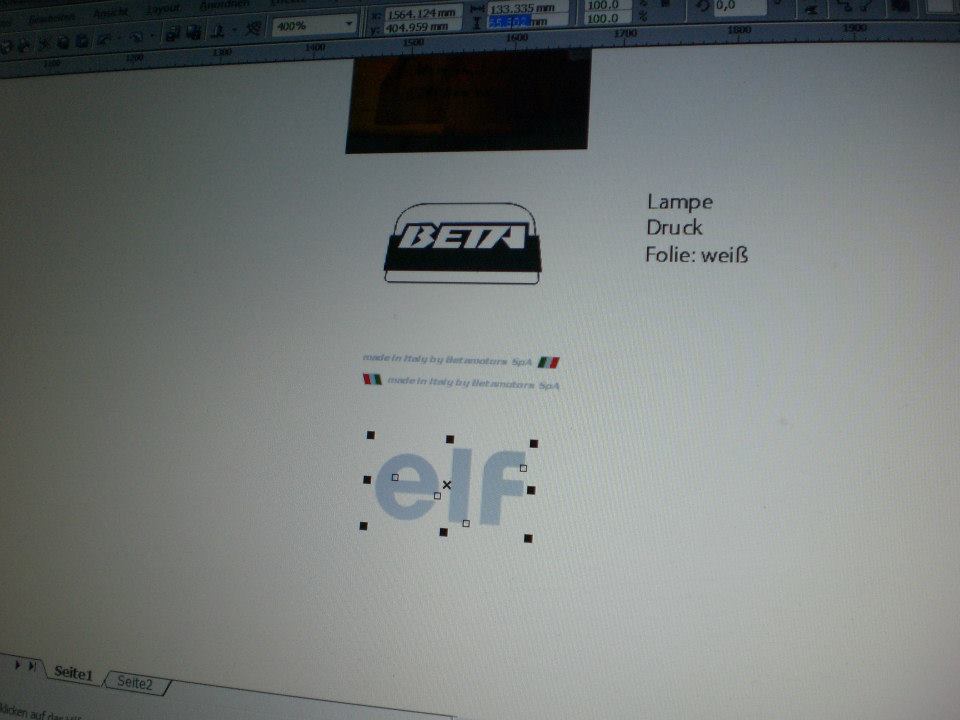
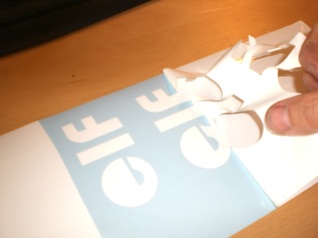
My wife Maria, she is professional in making all kind of sticker, made me the logo for the fuel tank, and the rest for the mudguards, front light and swing arm.
Maria is always very important and helpful addicted to decor set. A master is enough and I get an exact copy of Stickers in a very short time.
Maria is always very important and helpful addicted to decor set. A master is enough and I get an exact copy of Stickers in a very short time.
Sascha Basler's 1987 Beta TR34 Trial restoration
Sascha Basler's 1987 Beta TR34 Trial restoration
Sascha Basler's 1987 Beta TR34 Trial restoration
|
Sascha Basler's 1987 Beta TR34 Trial restoration
Sascha Basler's 1987 Beta TR34 Trial restoration
Sascha Basler's 1987 Beta TR34 Trial restoration
|
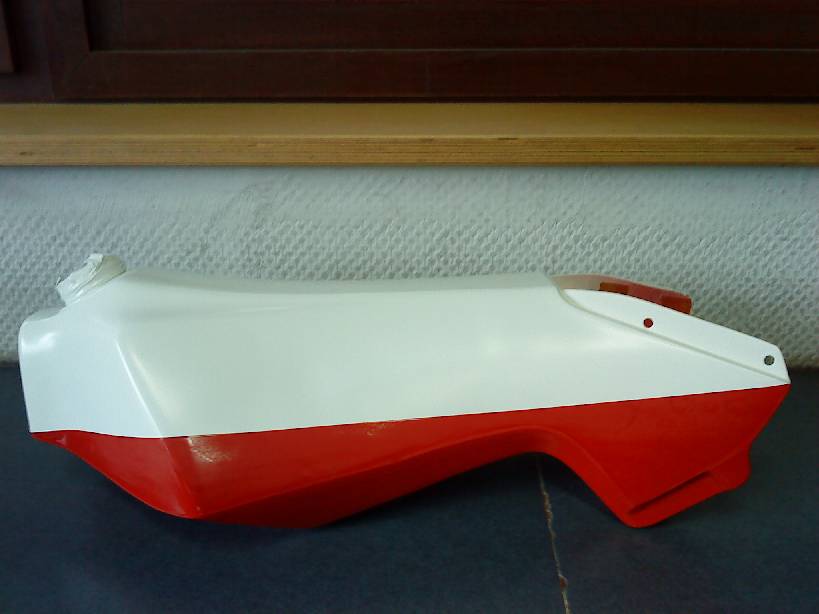
After painting the fuel tank, we put the blue Beta sticker on and I painted the finished tank with clear Coat to protect it before fuel.It cost me two coplete days to get it finish.Now I had to take care about the front fork. I changed the oil seals and painted the fork three times to get a perfect even finish.
The rear shock was so demaged, that I decided to use one of my disassembled Techno of 97.
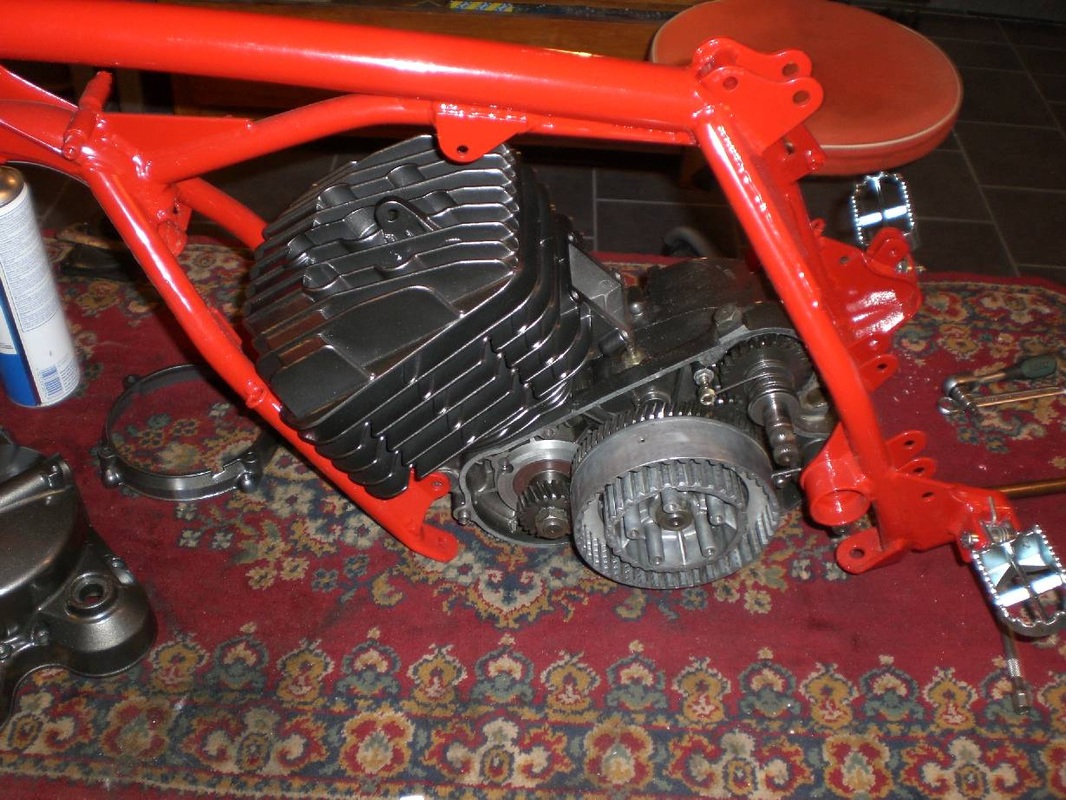
The engine was not going really well and had to revise completely.
I replaced the clutch, crank baring and all the seals.
The rear shock was so demaged, that I decided to use one of my disassembled Techno of 97.
The engine was not going really well and had to revise completely.
I replaced the clutch, crank baring and all the seals.
Sascha Basler's 1987 Beta TR34 Trial restoration
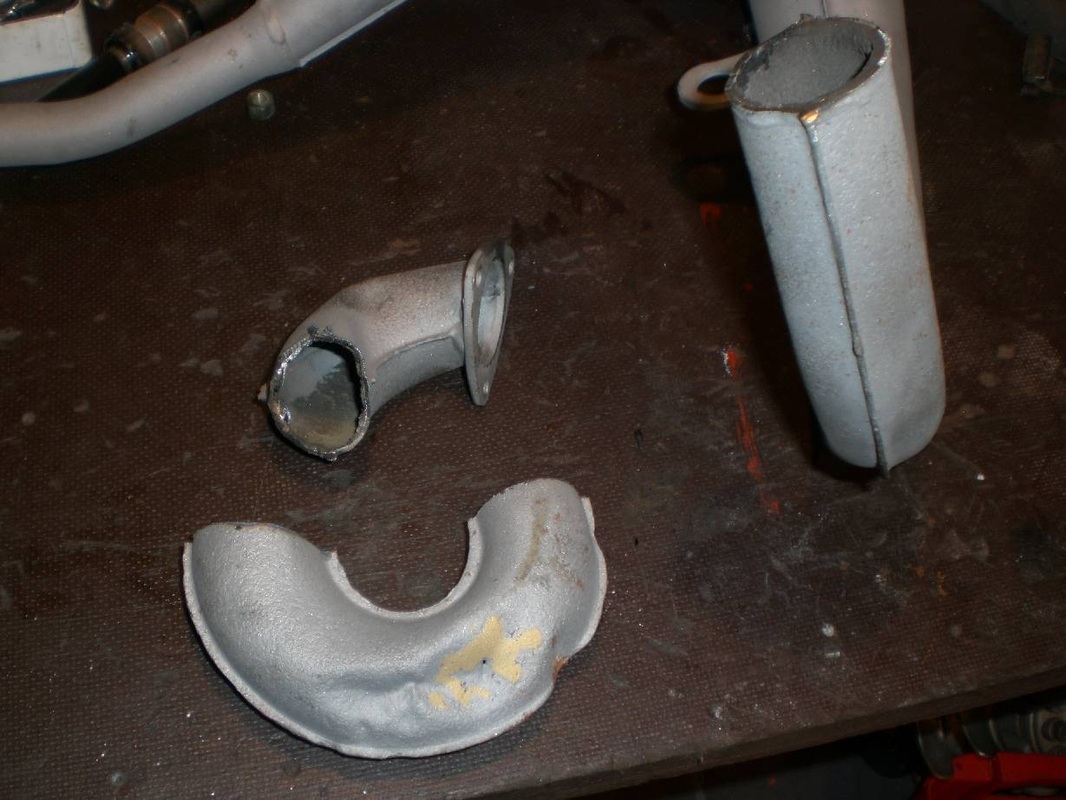
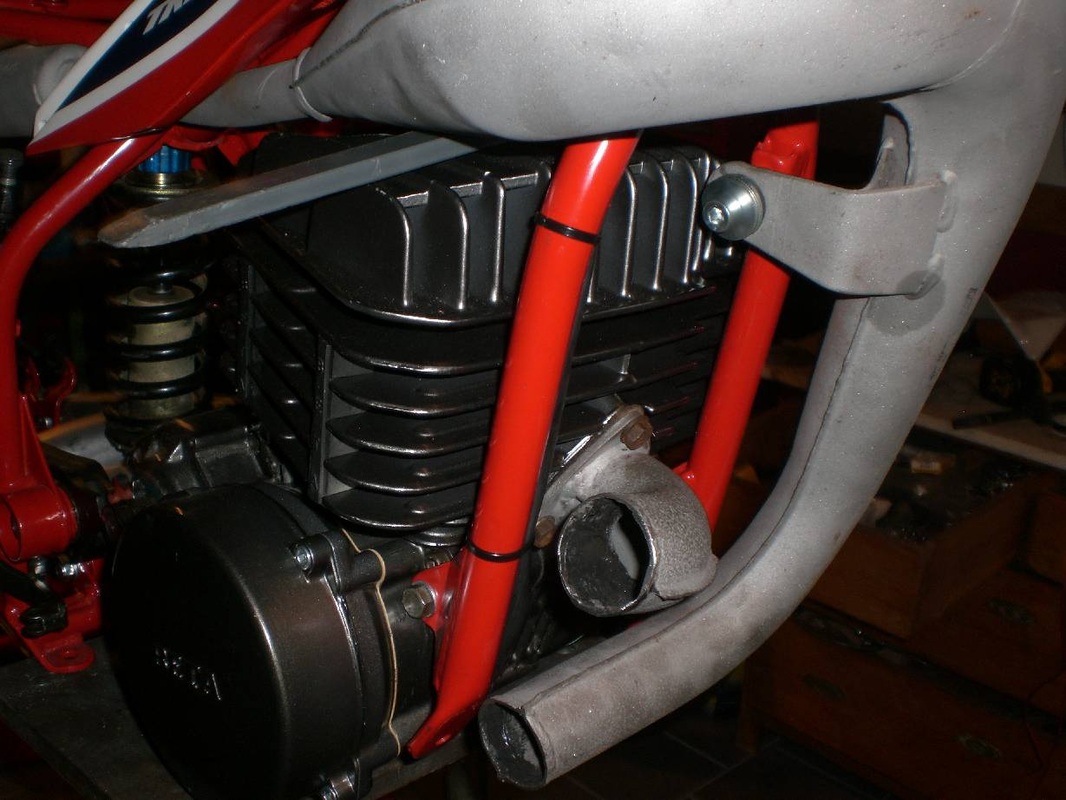
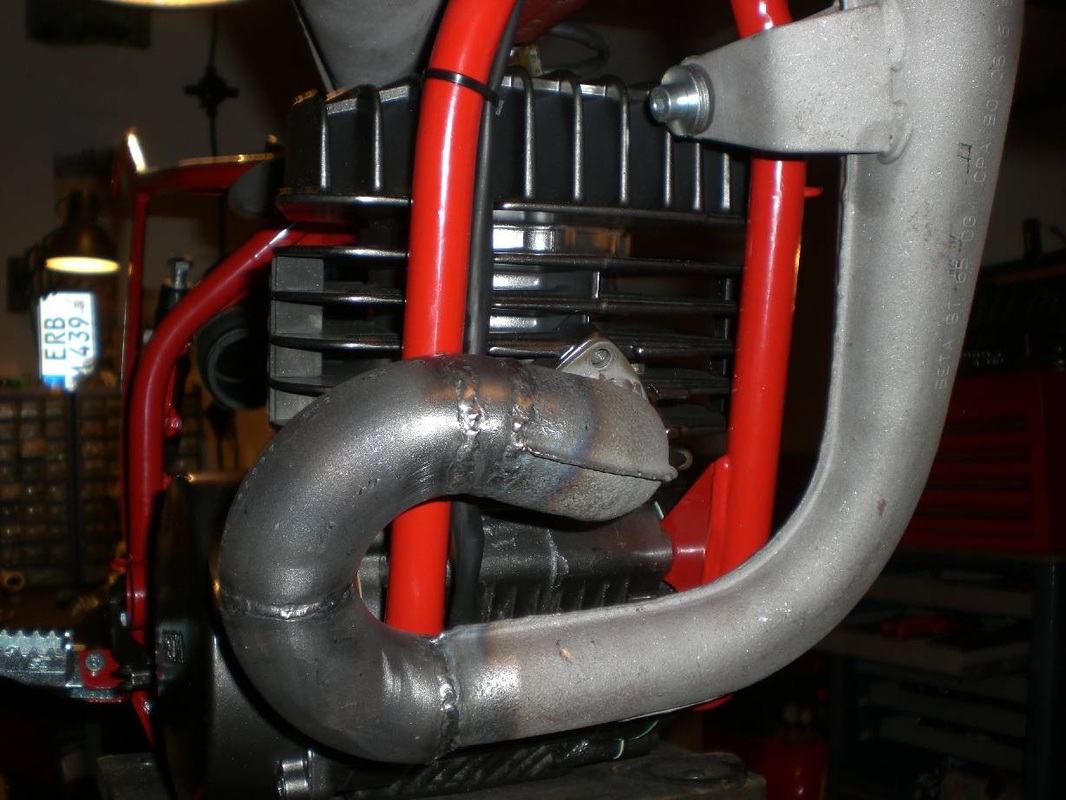
The exhaust system was also very rusty and full of bumps. After sand blasting I had to cut off the front bend tubes and had to adapt new one. After I had finished the weld work, it was ready to paint.
This is a job that would send many a restorer running for help. you need access to an oxy acetylene kit to be able to push these dents out.
This is a job that would send many a restorer running for help. you need access to an oxy acetylene kit to be able to push these dents out.
Sascha Basler's 1987 Beta TR34 Trial restoration
Of course when you weld the exhaust back together you must ensure every piece is exactly in the perfect location for that its fits. Its best to tack it which its on the bike , i would think.
Sascha Basler's 1987 Beta TR34 Trial restoration
Weld or Tig . Would anyone like to guess ? . I think Mig. Nice job whatever.

Sascha Basler's 1987 Beta TR34 Trial restoration
|
Sascha Basler's 1987 Beta TR34 Trial restoration
|
Now the assembly proper starts - for any restorer this is the best bit.
I find that trying to find the perfect nuts and bolts / fittings always takes sooo much time to get it just right.
I find that trying to find the perfect nuts and bolts / fittings always takes sooo much time to get it just right.
Sascha Basler's 1987 Beta TR34 Trial restoration