
Page 18 1986 GasGas Halley restoration
Have you noticed how i skipped over telling you about the huge cock up i made lacing the rear wheels.
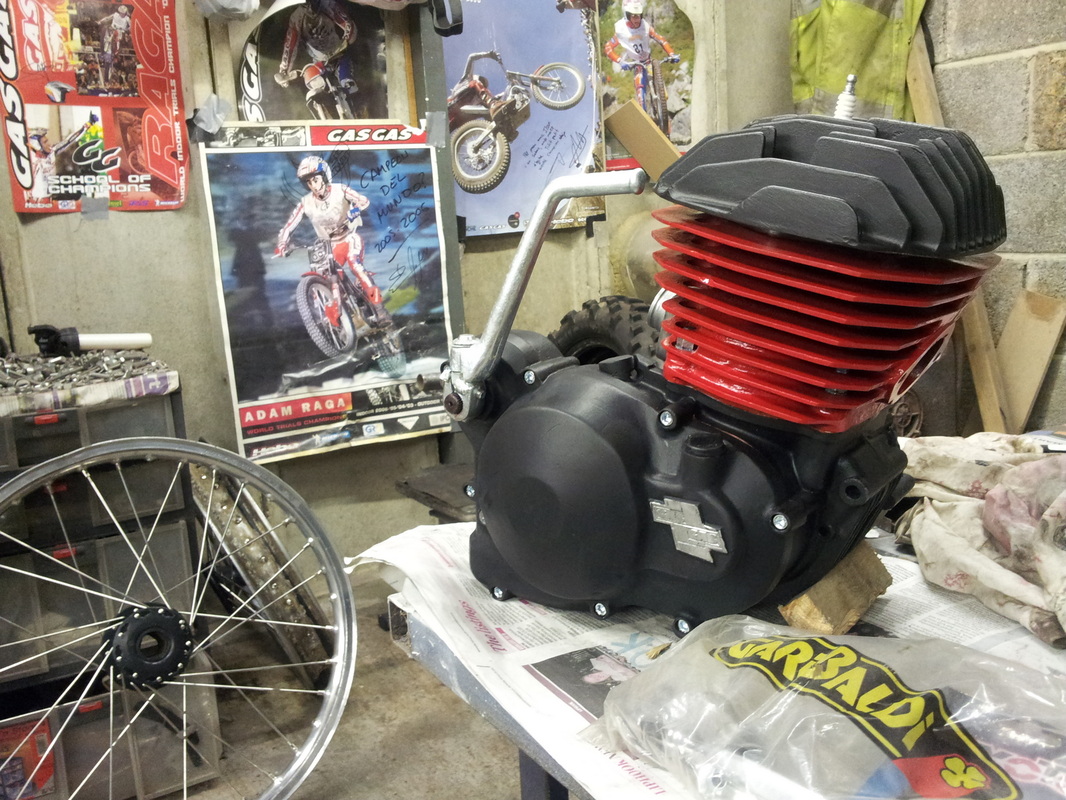
I moved on and and trying to distract you front my mistake by showing you engine glamour shots ha ha .
Looking good hey ?
I moved on and and trying to distract you front my mistake by showing you engine glamour shots ha ha .
Looking good hey ?
986 GasGas Halley restoration
Yet me tell you of my huge cock up .......... replacing those two wheels took me 3 full days. Yes 3 FULL DAYS !!!!!. They drove me crazy !!!!!!.
My problem is that i measured 2 of the 4 spoke lengths incorrectly and actually ordered spokes that were to long.
I only found out they were to long after i had tried every combination in the rear and front wheel ......which took me ages ha ha ha.
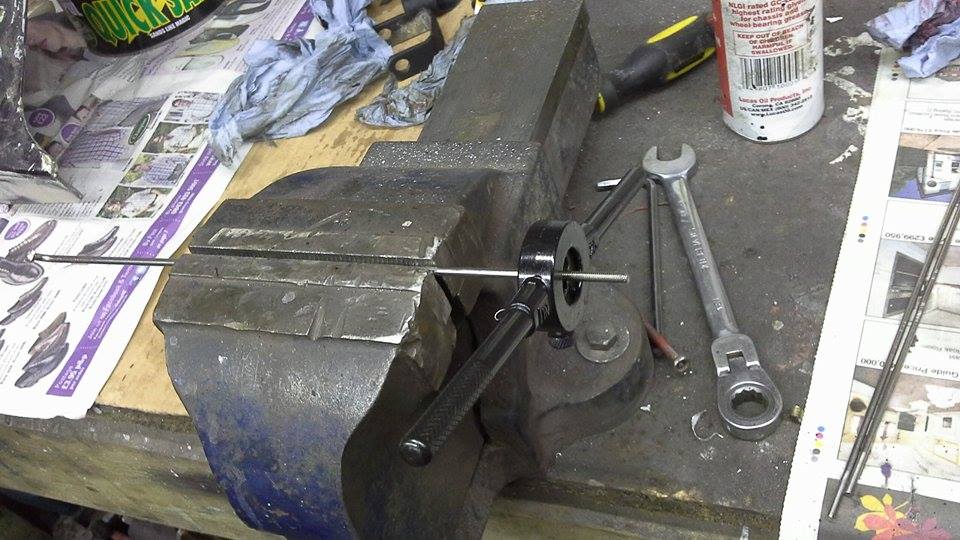
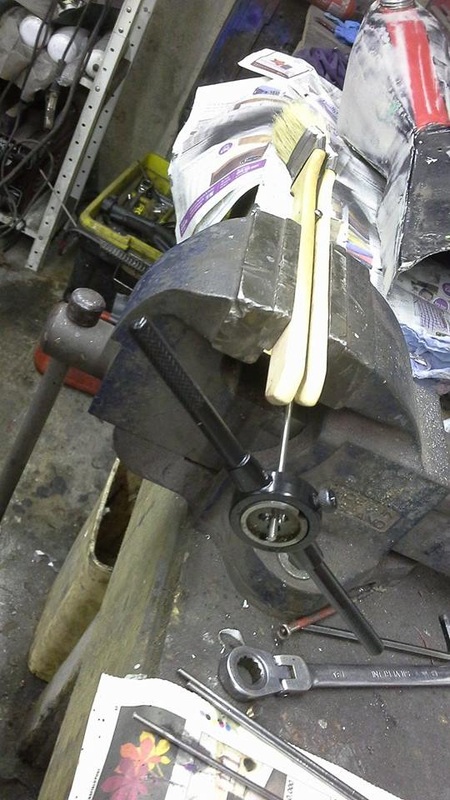
It kept me awake at night ....it really did. Half of the spokes (18) were to long so i had to cut extra thread on them. The rear spokes were M4 1.75 thread. The front spokes were M3.5 6mm thread. I had to beg and borrow a die for the front spokes which i didnt have.
This spoke issue was such a big issue in the Retrotrials house that my wife who works in a garage decided to take the matter into her own hands. I was at work when she sent me these photos by text ha ha ha . Isnt she great !!
My problem is that i measured 2 of the 4 spoke lengths incorrectly and actually ordered spokes that were to long.
I only found out they were to long after i had tried every combination in the rear and front wheel ......which took me ages ha ha ha.
It kept me awake at night ....it really did. Half of the spokes (18) were to long so i had to cut extra thread on them. The rear spokes were M4 1.75 thread. The front spokes were M3.5 6mm thread. I had to beg and borrow a die for the front spokes which i didnt have.
This spoke issue was such a big issue in the Retrotrials house that my wife who works in a garage decided to take the matter into her own hands. I was at work when she sent me these photos by text ha ha ha . Isnt she great !!
986 GasGas Halley restoration
|
986 GasGas Halley restoration
|
There cant be many wives who will re tap your spokes for you. She had found a m3.5 6mm die at work and by the time i got back home at 10.30 pm they were all done. I did have a word with her about placing my nice shiny spokes in the vice though !!!!! :)
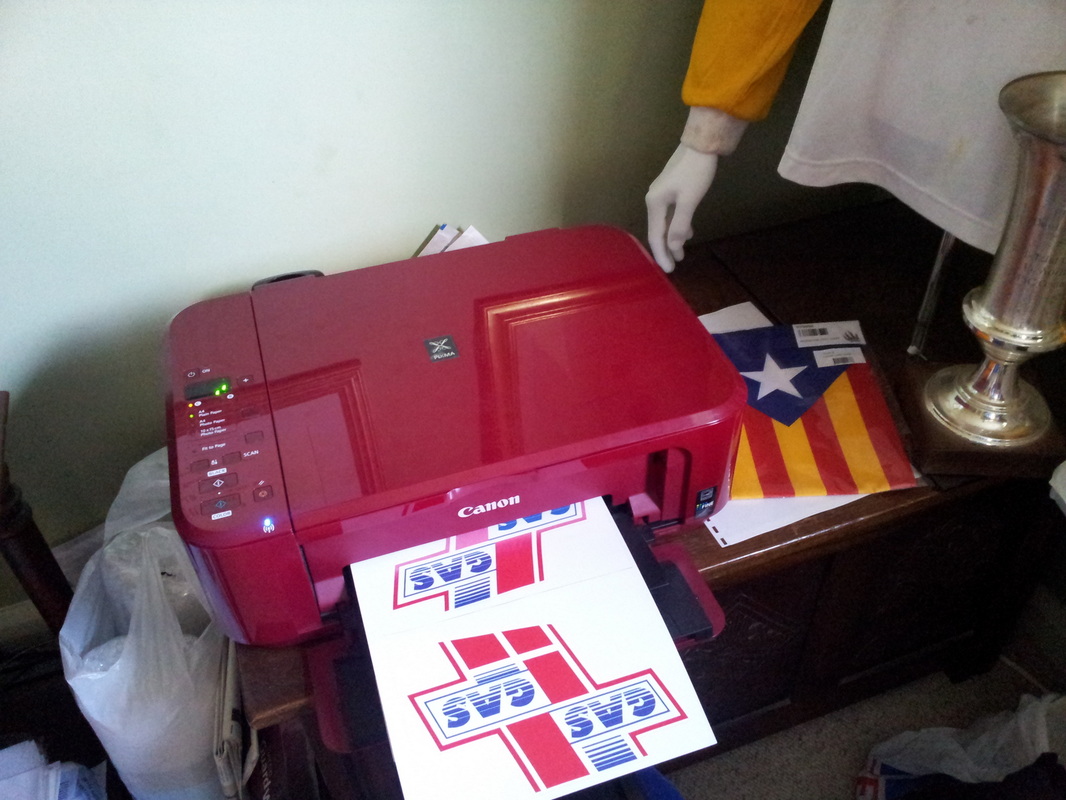
After i had got over that little drama I then moved onto making my own decals onto sticky backed glossy thin photo paper.
After i had got over that little drama I then moved onto making my own decals onto sticky backed glossy thin photo paper.
986 GasGas Halley restoration
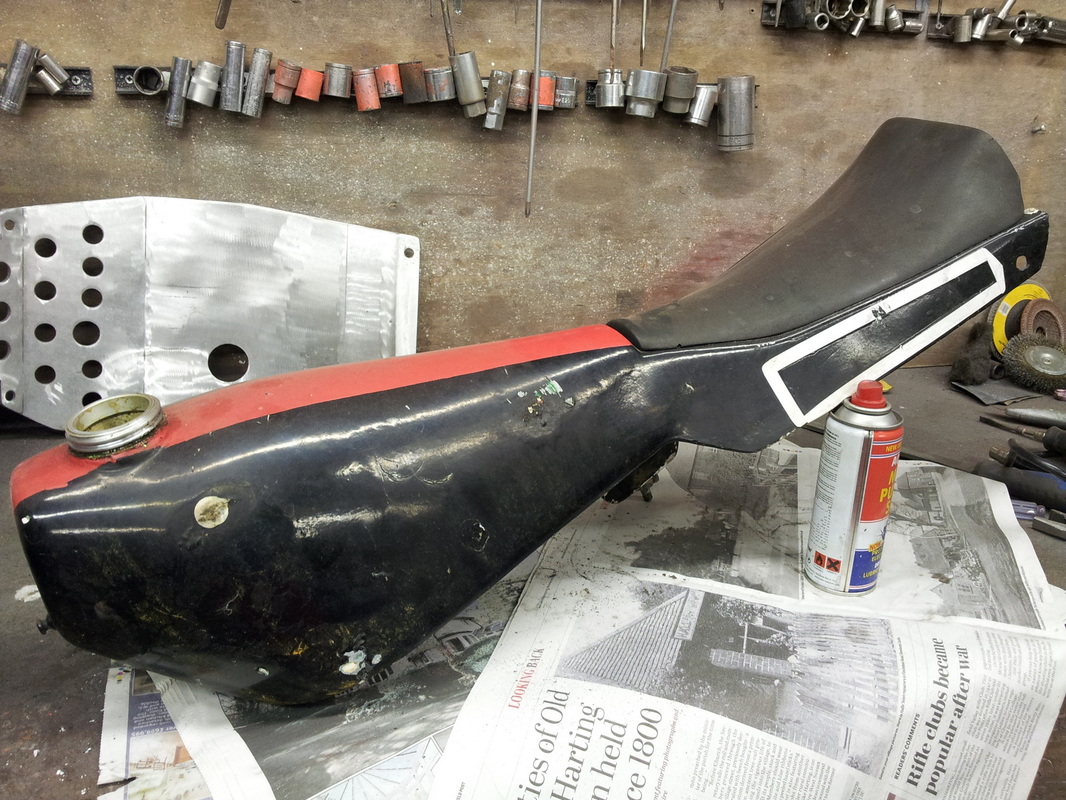
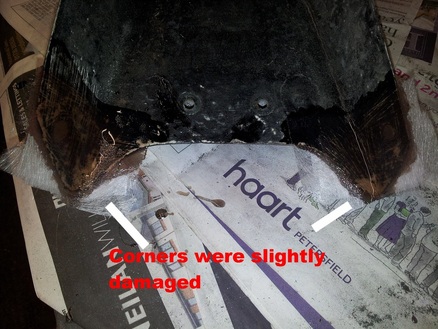
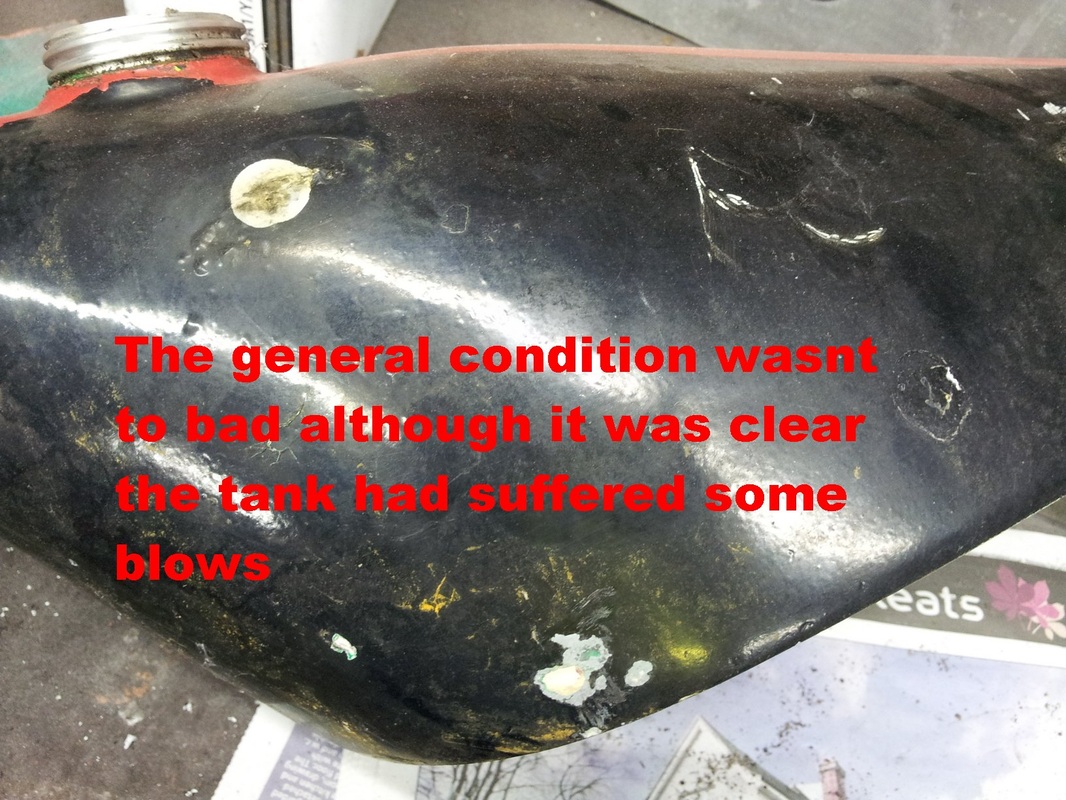
Now onto the tank. This was one of the best parts of the bike , when i bought it . However it still needs a bit of work.
986 GasGas Halley restoration www.retrotrials.com
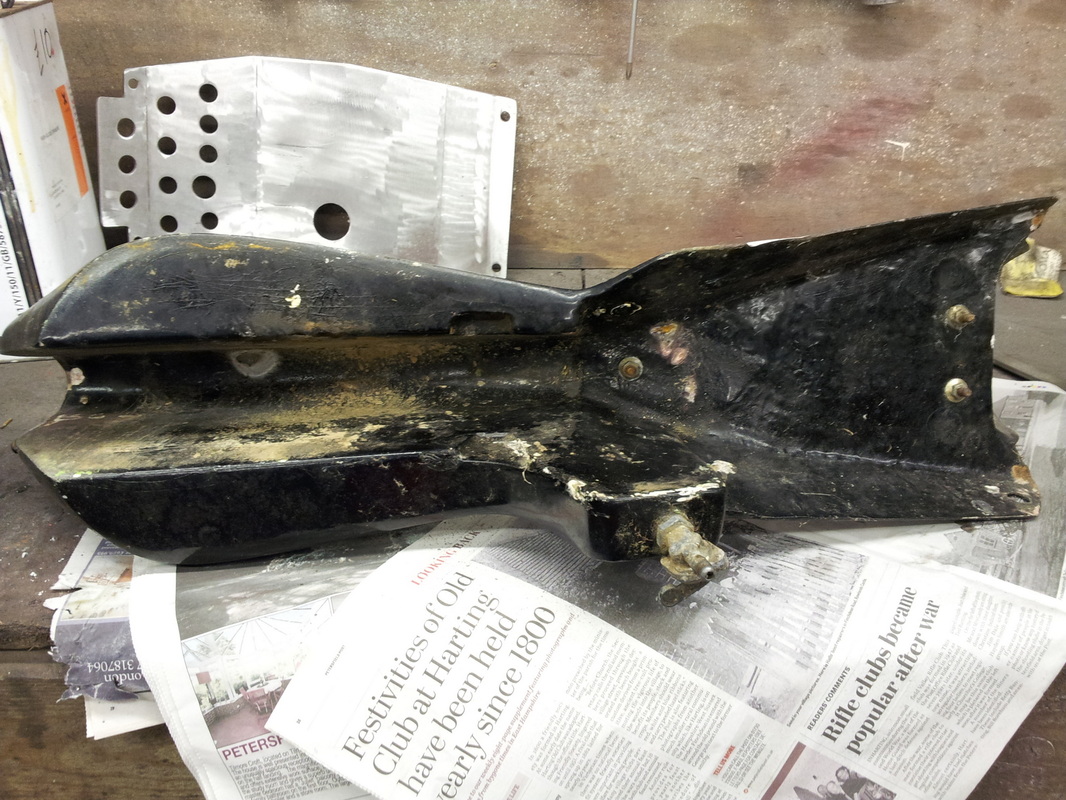
Lets have a look unerneath
986 GasGas Halley restoration www.retrotrials.com
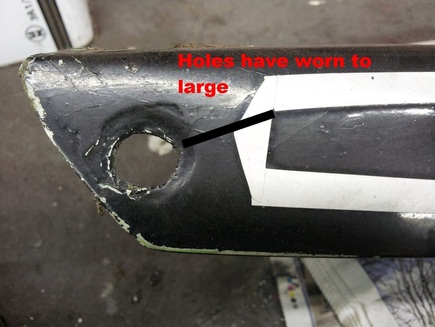
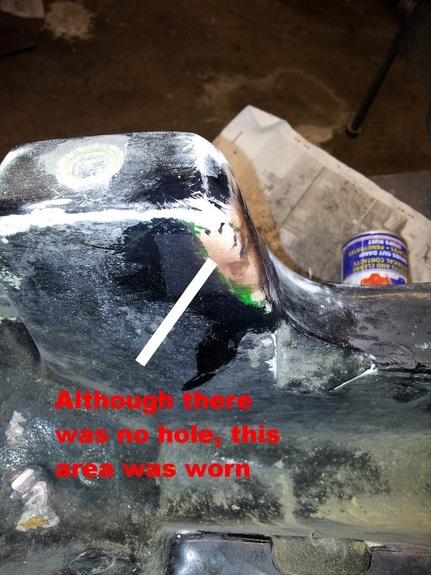
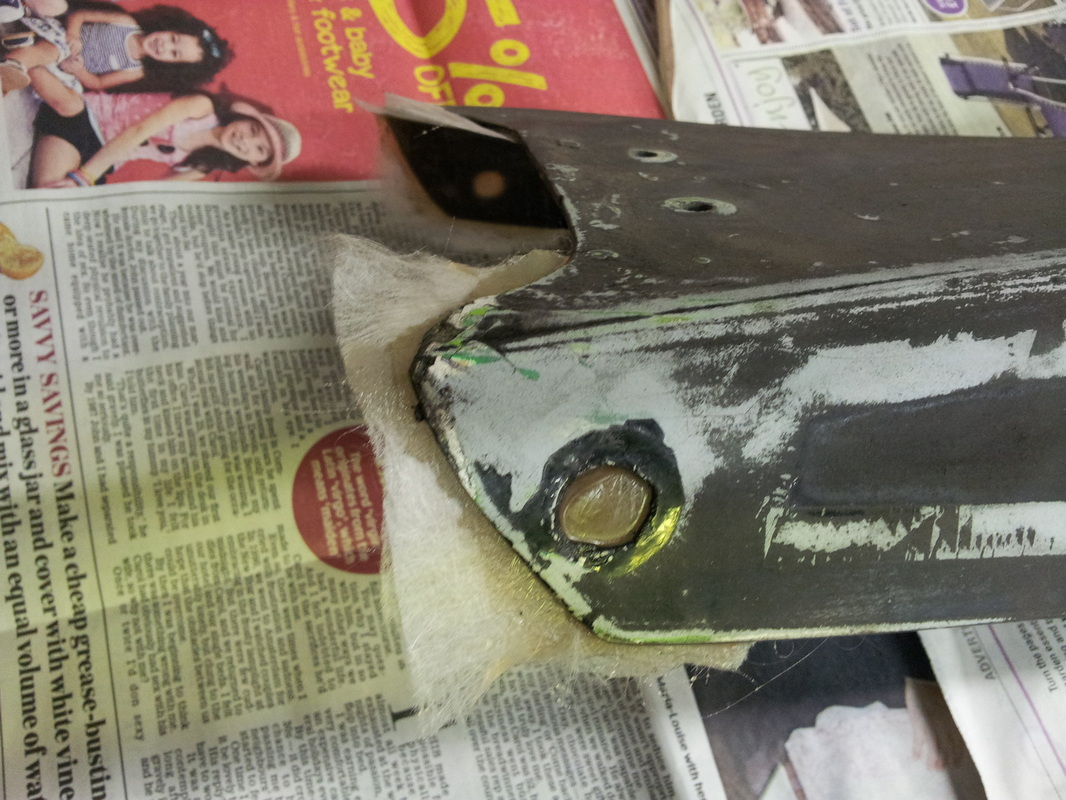
There were little marks and indentations here and there.
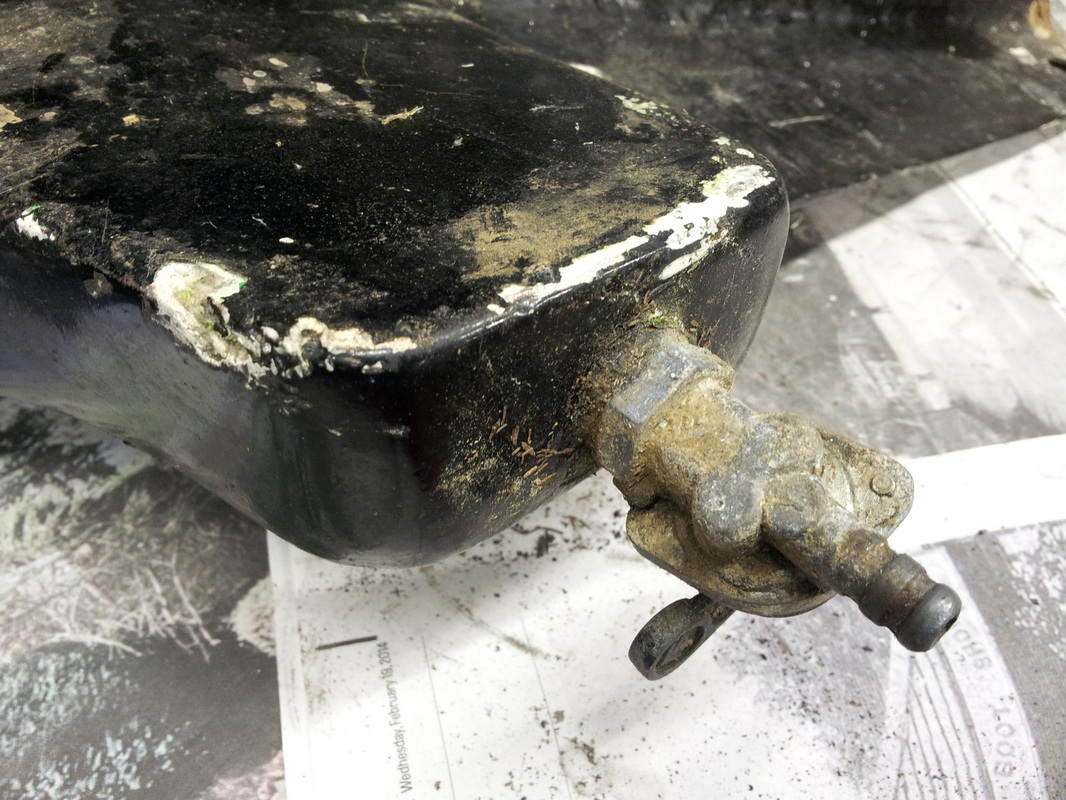
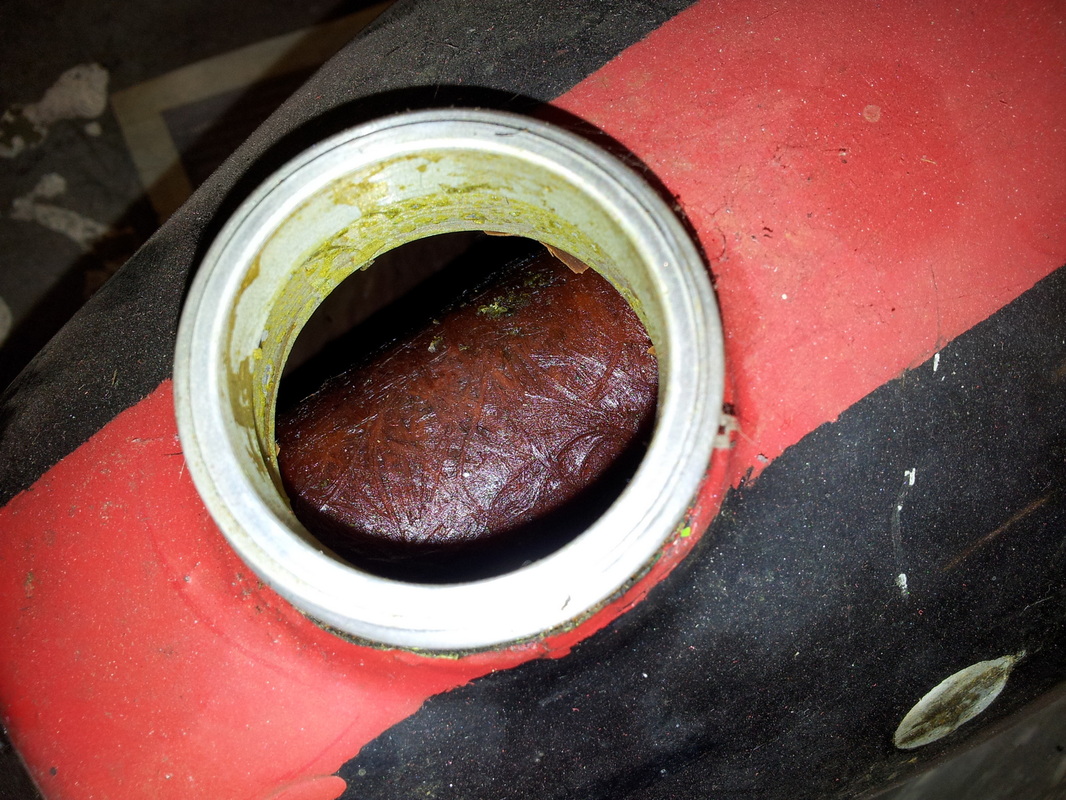
The petrol tap looks good
The petrol tap looks good
986 GasGas Halley restoration www.retrotrials.com
Or it did......untill i tried to take it off and snapped the thing clean off !!!!!!!!!!!!!!!!!!!!!!!!!
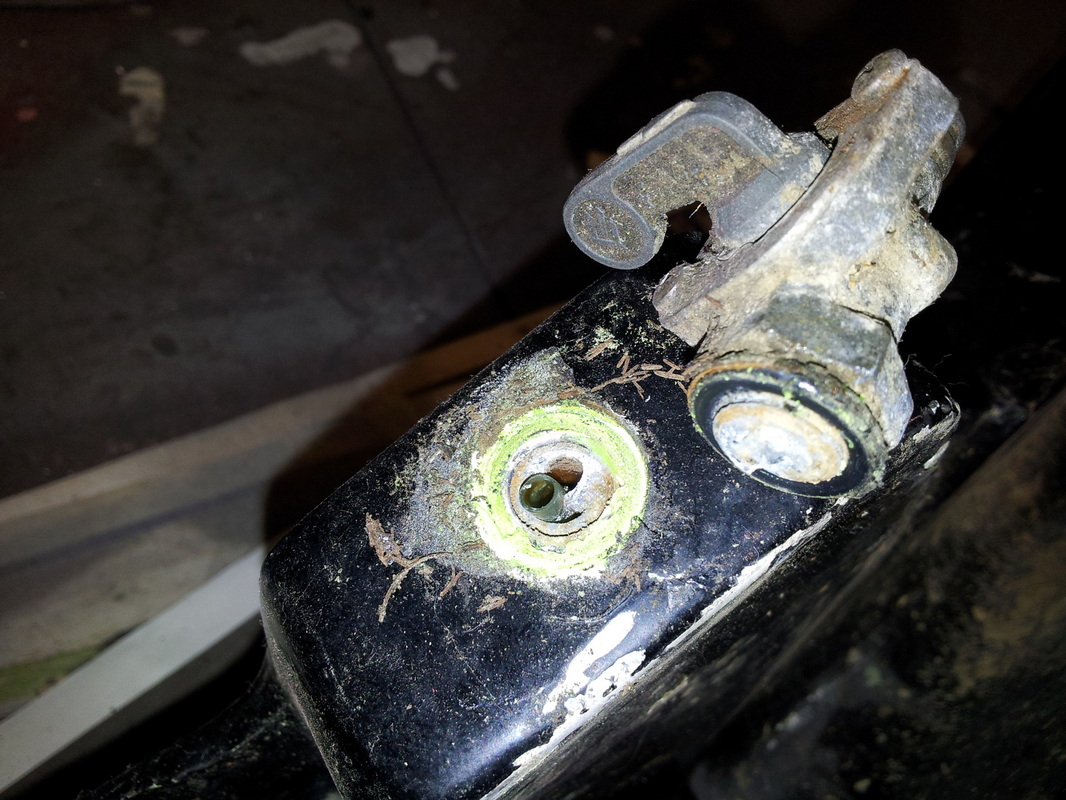
That'll be interesting to sort out
That'll be interesting to sort out
986 GasGas Halley restoration www.retrotrials.com
Here are the repairs to the tank
986 GasGas Halley restoration www.retrotrials.com
|
986 GasGas Halley restoration www.retrotrials.com
|
986 GasGas Halley restoration www.retrotrials.com
|
986 GasGas Halley restoration www.retrotrials.com
|
No sealer has been applied which is good. I will be installing a enthanol proof sealer in the tank , so my paint work isnt ruined.
986 GasGas Halley restoration www.retrotrials.com